

Why You’ll Love This Cherry Pie
This cherry pie recipe is straightforward and quick, making it perfect for both beginners and busy cooks. With simple steps and a short cooking time, you can enjoy a delicious homemade dessert without hassle. Made with fresh cherries, this pie offers antioxidants, vitamins, and fiber that support wellness, turning a classic treat into a nutritious option.
The recipe can be easily adjusted to fit various dietary needs, such as vegan, gluten-free, or low-calorie options, ensuring everyone can enjoy the distinctive taste. Its versatility means you can make it your own, whether you’re cooking for a family gathering or a quick weeknight dessert. The combination of sweet and tart cherries paired with a flaky crust makes this pie stand out, creating a memorable dessert experience that you’ll want to bake again and again.
Jump to:
- Why You’ll Love This Cherry Pie
- Essential Ingredients for Cherry Pie
- How to Prepare the Perfect Cherry Pie: Step-by-Step Guide
- Adapting for Dietary Needs
- Dietary Substitutions to Customize Your Cherry Pie
- Mastering Cherry Pie: Advanced Tips and Variations
- How to Store Cherry Pie: Best Practices
- FAQs: Frequently Asked Questions About Cherry Pie
- Do I need to pre-bake the pie crust for a cherry pie?
- What type of cherries are best for making cherry pie?
- Why should I reduce the cherry filling juices on the stove before baking?
- What is the purpose of brushing the pie crust with an egg wash?
- Can I use a topping other than a traditional lattice crust for my cherry pie?
- Cherry Pie
- Ingredients
- Instructions
- Last Step:
- Notes
- Nutrition
- Did you make this recipe?
Essential Ingredients for Cherry Pie
Gathering the right ingredients is key to making a perfect cherry pie. Below is a structured list of all the essential items you’ll need, based on precise measurements for accuracy. This ensures your pie turns out just right every time.
- Double pie crust (all-butter or butter-shortening dough), chilled 2 hours
- Fresh pitted cherries 4 1/2 cups (halved and quartered, about 1.5 lb)
- Granulated sugar 2/3 cup
- Cornstarch 1/4 cup (or 1/3 cup tapioca as a substitute)
- Fresh lemon juice 1 Tablespoon
- Pure vanilla extract 1 teaspoon
- Almond extract 1/4 teaspoon
- Unsalted butter 1 Tablespoon, cold and cubed
- Egg wash 1 large egg beaten with 1 Tablespoon milk
- Optional coarse sugar for sprinkling the top
These ingredients come together to create a balanced flavor and texture. If you’re adapting for dietary needs, remember you can use plant-based butter for vegan options or gluten-free flour for the crust.
How to Prepare the Perfect Cherry Pie: Step-by-Step Guide
First, prepare two discs of pie-crust dough, wrap them, and chill for 2 hours or up to 5 days in the fridge or 3 months in the freezer. This step helps the dough become easy to work with and gives you that flaky texture everyone loves. Once chilled, toss the fresh pitted cherries with sugar, cornstarch, lemon juice, vanilla, and almond extract in a bowl, then cover and refrigerate while the crust rests to let the flavors meld.
Next, preheat your oven to 400°F (204°C). Roll one disc of dough into a 12-inch circle and fit it into a 9-inch pie plate. Using a slotted spoon, transfer the cherries to the crust while reserving their juice don’t skip this, as reducing the juice prevents a soggy bottom. Reduce the reserved juice in a saucepan for 3-4 minutes, cool it for 5 minutes, and drizzle it over the cherries inside the pie.
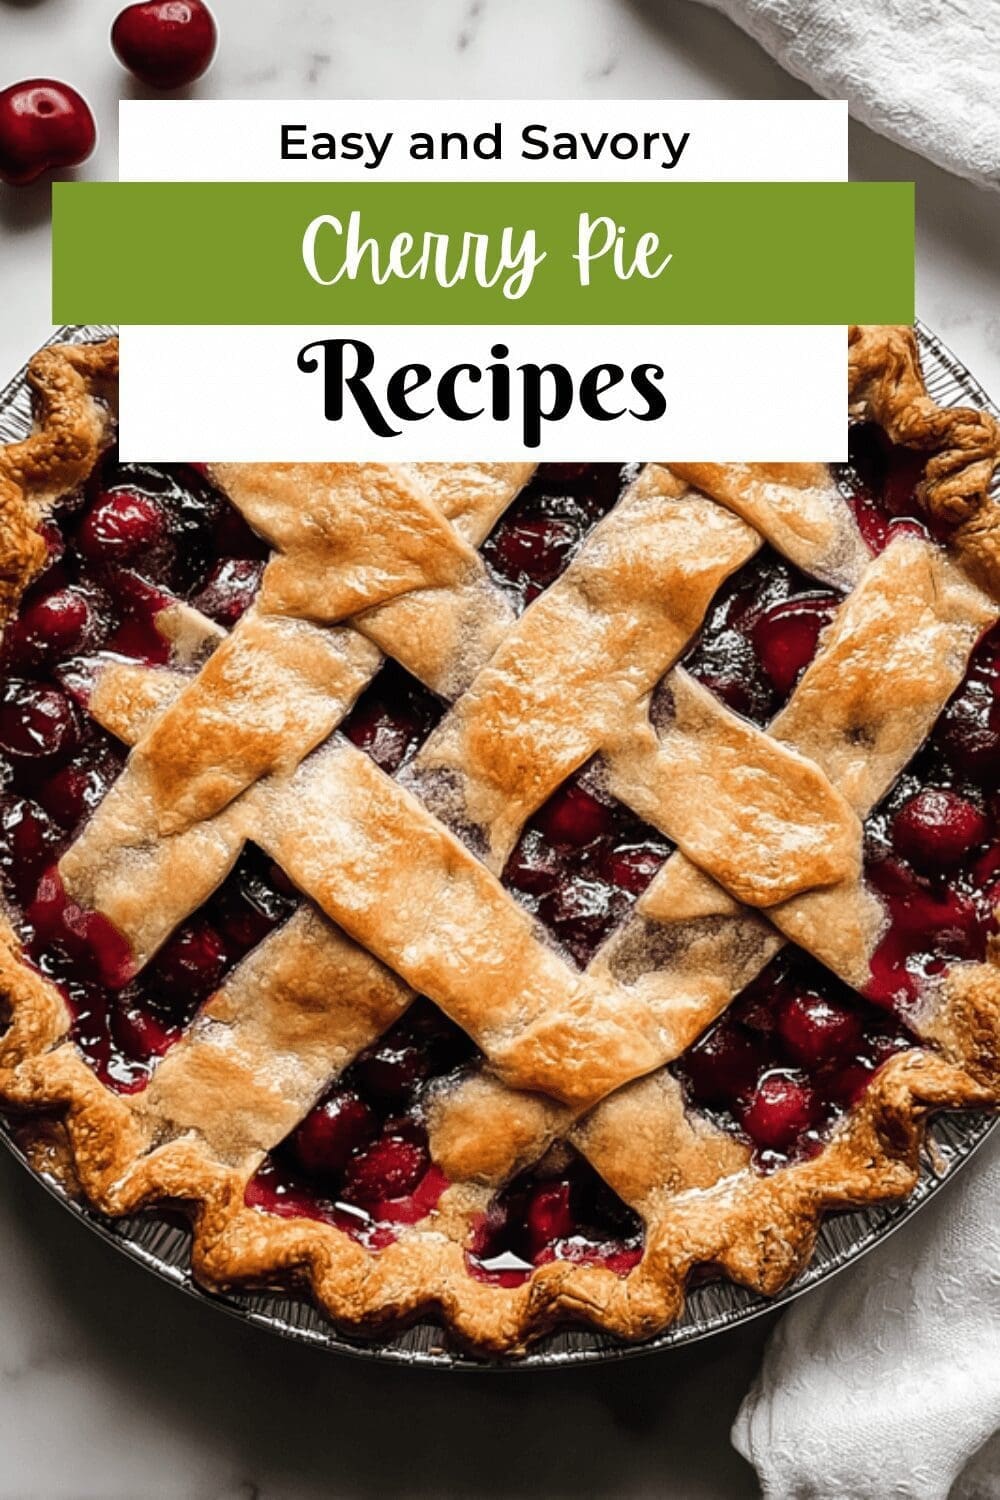
Dot the filling with the cold cubed butter for added richness, then roll out the second disc, cut it into strips, and lay a lattice over the filling. Seal and crimp the edges to keep everything in place. Brush the lattice with the egg-milk wash and sprinkle with coarse sugar if you want extra crunch. Refrigerate the assembled pie for 20-30 minutes to firm up the crust before baking.
Now, bake at 400°F (204°C) for 20 minutes, then lower the temperature to 375°F (191°C) and continue baking for 30-40 minutes until the crust turns golden and the filling bubbles. If you’re using frozen cherries, add a few extra minutes to the bake time for the best results. Let the pie cool completely for 3-4 hours before slicing to set the filling properly.
Adapting for Dietary Needs
As you follow these steps, feel free to make adjustments use vegan butter in the crust for plant-based diets or gluten-free flour if needed. This guide covers the basics while incorporating tips like reducing the juice to avoid common pitfalls.

Dietary Substitutions to Customize Your Cherry Pie
Substitute tart cherries with sweet cherries or mixed berries for a different flavor profile that still captures the essence of cherry pie. For plant-based diets, add a flax egg as a binder in the crust to keep it together without eggs. Consider enhancing the filling with additions like cinnamon or almond extract for more depth.
Other modifications include using alternative thickeners such as arrowroot powder instead of cornstarch for gluten-free needs. Vegan toppings or sauces can elevate your pie further, and these changes make it easy to adapt based on seasonal fruits or dietary restrictions. The goal is to keep the pie appealing while meeting your specific preferences.
Mastering Cherry Pie: Advanced Tips and Variations
To take your cherry pie to the next level, try blind baking the crust slightly before adding the filling this gives you a crispier base that holds up well. Always use chilled tools and ingredients to improve the dough’s texture, making it easier to roll out without sticking. For flavor variations, mix in spices like nutmeg or cardamom, or combine cherries with rhubarb or apples for a unique twist that surprises your taste buds.
Presentation is key, so garnish with powdered sugar or fresh mint leaves to make your pie look as good as it tastes. Create decorative crust edges or shapes to impress your guests and turn baking into a fun activity. If you’re planning ahead, prepare the filling a day in advance and refrigerate it, or freeze the assembled pie before baking to save time on busy days these options make cherry pie a go-to dessert.
| Tip Category | Description |
|---|---|
| Pro Techniques | Blind bake for crispiness and use a glass pie dish to ensure even browning of the bottom crust. |
| Flavor Ideas | Incorporate spices or other fruits for variety, like adding rhubarb for a tangy kick. |
| Storage Hacks | Freeze pies in portions for easy reheating throughout the week. |
How to Store Cherry Pie: Best Practices
Store your cherry pie in an airtight container or wrap it tightly with plastic wrap to keep it fresh for up to 3-4 days in the fridge. For longer storage, wrap the pie securely in foil and place it in the freezer, where it can last up to 3 months remember to thaw it overnight in the refrigerator before serving. When reheating, warm slices in a microwave or a 350°F oven for 10-15 minutes to maintain that fresh-baked texture and flavor.
Meal prep tip: Bake pies in batches and store portions individually, so you have convenient dessert options ready for the week. This approach works great for busy parents or working professionals who want a quick treat without the full preparation process each time. By following these steps, your cherry pie stays delicious and ready to enjoy.
FAQs: Frequently Asked Questions About Cherry Pie
Do I need to pre-bake the pie crust for a cherry pie?
No, you don’t need to pre-bake the crust. Cherry pie fillings are often juicy, but reducing the cherry juices on the stove before baking helps prevent a soggy bottom crust. Baking the pie long enough, usually starting at a higher temperature, also ensures the crust cooks through completely, especially when using a glass pie dish to monitor browning.
What type of cherries are best for making cherry pie?
Dark sweet cherries like Bing or a mix of Rainier and dark cherries work best for cherry pie because of their balanced sweetness and flavor. Sour cherries can be used too but require more sugar in the recipe to balance their tartness. Fresh or frozen cherries both make good fillings, though frozen cherries may need extra cooking time to release their juices.
Why should I reduce the cherry filling juices on the stove before baking?
Reducing the cherry filling juices thickens the liquid by evaporating excess water and activating cornstarch in the filling. This helps the cherry filling set well during baking, preventing it from becoming watery. Pouring the thickened juice back over the cherries before baking ensures a firm, flavorful filling.
What is the purpose of brushing the pie crust with an egg wash?
Applying an egg wash—a beaten egg mixed with milk or water—before baking adds a shiny, golden-brown finish to the crust and helps it become crispier. Without an egg wash, the crust often looks pale and dull. Lightly brush the top crust and edges just before placing the pie in the oven.
Can I use a topping other than a traditional lattice crust for my cherry pie?
Yes, you can substitute a lattice crust with other toppings. A crumble or streusel topping adds texture and sweetness, and skipping the top crust altogether turns it into an open-face pie. Alternatively, use the dough to make hand pies for individual servings. These options offer different textures and can simplify preparation.

Cherry Pie
🍒 Enjoy a classic, buttery cherry pie made from fresh fruit that bursts with sweet‑tart flavor.
🥧 This easy‑step recipe lets you create a golden, glossy crust and a luscious filling without fuss.
- Total Time: 7 hours
- Yield: 8-10 slices
Ingredients
– Double pie crust (all-butter or butter-shortening dough)
– 4 1/2 cups fresh pitted cherries
– 2/3 cup granulated sugar
– 1/4 cup cornstarch
– 1 Tablespoon fresh lemon juice
– 1 teaspoon pure vanilla extract
– 1/4 teaspoon almond extract
– 1 Tablespoon unsalted butter
– 1 large egg beaten with 1 Tablespoon milk
– coarse sugar for sprinkling the top
Instructions
1-First, prepare two discs of pie-crust dough, wrap them, and chill for 2 hours or up to 5 days in the fridge or 3 months in the freezer. This step helps the dough become easy to work with and gives you that flaky texture everyone loves. Once chilled, toss the fresh pitted cherries with sugar, cornstarch, lemon juice, vanilla, and almond extract in a bowl, then cover and refrigerate while the crust rests to let the flavors meld.
2-Next, preheat your oven to 400°F (204°C). Roll one disc of dough into a 12-inch circle and fit it into a 9-inch pie plate. Using a slotted spoon, transfer the cherries to the crust while reserving their juice don’t skip this, as reducing the juice prevents a soggy bottom. Reduce the reserved juice in a saucepan for 3-4 minutes, cool it for 5 minutes, and drizzle it over the cherries inside the pie.
3-Dot the filling with the cold cubed butter for added richness, then roll out the second disc, cut it into strips, and lay a lattice over the filling. Seal and crimp the edges to keep everything in place. Brush the lattice with the egg-milk wash and sprinkle with coarse sugar if you want extra crunch. Refrigerate the assembled pie for 20-30 minutes to firm up the crust before baking.
4-Now, bake at 400°F (204°C) for 20 minutes, then lower the temperature to 375°F (191°C) and continue baking for 30-40 minutes until the crust turns golden and the filling bubbles. If you’re using frozen cherries, add a few extra minutes to the bake time for the best results. Let the pie cool completely for 3-4 hours before slicing to set the filling properly.
Last Step:
Please leave a rating and comment letting us know how you liked this recipe! This helps our business to thrive and continue providing free, high-quality recipes for you.Notes
🍒 Use a cherry pitter for quick pitting; dark‑sweet or Rainier‑type cherries give the best flavor.
🧈 Dot the filling with butter to reduce bubbling and add richness.
🔪 Reduce the cherry juice on the stovetop before adding to the pie to prevent a soggy bottom.
- Prep Time: 3 hours
- Cooling: 30 minutes
- Cook Time: 55 minutes
- Category: Dessert
- Method: Baking
- Cuisine: American
- Diet: Vegetarian
Nutrition
- Serving Size: 1 slice (≈1/8 pie)
- Calories: 320 kcal
- Sugar: 16 g
- Sodium: 150 mg
- Fat: 12 g
- Saturated Fat: 7 g
- Unsaturated Fat: 3 g
- Trans Fat: 0 g
- Carbohydrates: 45 g
- Fiber: 2 g
- Protein: 3 g
- Cholesterol: 30 mg


