

Why You’ll Love This Dinner Rolls
Imagine pulling warm, soft dinner rolls straight from the oven, fresh and ready to complement your favorite meal. These rolls are perfect for anyone new to baking because they’re simple to make and deliver great results every time. You’ll appreciate how they bring a comforting touch to your table, especially after a long day.
One big plus is the ease of preparation. This dinner rolls recipe uses just a few basic ingredients and straightforward steps, so it’s ideal for busy parents or students looking for a quick side dish without much fuss. Plus, the end result is fluffy and delicious, making it a hit for family dinners or casual get-togethers.
Another reason to try this recipe is the health benefits it offers. Using natural ingredients like whole milk and flour provides essential nutrients while keeping things tasty. For those watching their diet, you can tweak it slightly for whole grain options to add more fiber, supporting a balanced eating plan that’s both nourishing and enjoyable.
What’s more, these dinner rolls shine in their versatility. They work well for various dietary preferences, such as vegan or gluten-free versions, letting you adapt them to fit your needs. This flexibility means you can enjoy them with everything from soups to salads, making them a go-to choice for many occasions.
Finally, the distinctive flavor really sets these apart. Each bite offers a buttery taste with a light, airy texture that feels homemade and special. Adding simple touches like herbs can make them even more unique, turning a basic recipe into something memorable for food enthusiasts and baking beginners alike. For more meal ideas, check out our easy chicken spaghetti recipe that pairs wonderfully with these rolls.
Jump to:
- Why You’ll Love This Dinner Rolls
- Essential Ingredients for Dinner Rolls
- How to Prepare the Perfect Dinner Rolls: Step-by-Step Guide
- Dietary Substitutions to Customize Your Dinner Rolls
- Mastering Dinner Rolls: Advanced Tips and Variations
- Flavor Ideas
- How to Store Dinner Rolls: Best Practices
- FAQs: Frequently Asked Questions About Dinner Rolls
- How do I make soft and fluffy dinner rolls at home?
- What is the best way to store dinner rolls to keep them fresh?
- Can I make dinner rolls without yeast?
- How long do homemade dinner rolls typically stay fresh?
- What are some simple variations to customize dinner rolls?
- Dinner Rolls
- Ingredients
- Instructions
- Last Step:
- Notes
- Nutrition
- Did you make this recipe?
Essential Ingredients for Dinner Rolls
Gathering the right ingredients is the first step to baking success. Let’s look at what you need for this recipe, focusing on fresh, quality items to ensure your rolls turn out just right.
- 1 cup whole milk, warmed to about 110°F (43°C)
- 2 and 1/4 teaspoons instant yeast
- 2 tablespoons granulated sugar, divided
- 1 large egg
- 1/4 cup unsalted butter, room temperature and cut into pieces
- 1 teaspoon salt
- 3 cups all-purpose flour or bread flour
- 2 tablespoons melted unsalted butter mixed with 1 tablespoon honey (optional topping)
Each ingredient plays a key role, from the yeast that helps the dough rise to the butter that adds richness. Using exact measurements keeps the texture soft and consistent, which is great for beginners building their skills.
How to Prepare the Perfect Dinner Rolls: Step-by-Step Guide
Making dinner rolls at home is easier than you might think, and following these steps will guide you through the process smoothly. Start by getting all your ingredients ready to make things go faster and more fun.
First, whisk the warm milk, yeast, and 1 tablespoon of sugar in a bowl; let it sit for 5 minutes until it becomes frothy. This step activates the yeast and is key for those fluffy results you’re aiming for. Once it’s ready, move on to mixing the rest.
Next, add the remaining sugar, egg, butter, salt, and 1 cup of flour to the mixture; stir on low speed for about 30 seconds. Scrape down the sides of the bowl, then incorporate the rest of the flour and beat until the dough pulls away from the sides, which takes around 2 minutes. If the dough feels too wet, add a bit more flour to get it just right.
Now, knead the dough either by mixer or by hand for 5 minutes until it’s soft, slightly sticky, and passes the windowpane test. This helps build the structure that makes the rolls tender. For more tips on pairing with other dishes, visit our turkey carcass soup page, which could make a great companion to your fresh rolls.
After kneading, place the dough in a lightly oiled bowl, cover it, and let it rise for 1-2 hours until it doubles in size. Then, grease a baking pan, punch down the dough, and divide it into 14-16 pieces. Shape each into a smooth ball and arrange them in the pan.
Cover the pan and let the rolls rise for about 1 hour until they’re puffy. Preheat your oven to 350°F (175°C), then bake the rolls for 20-25 minutes until golden brown, rotating the pan halfway through. If they start browning too quickly, cover with foil.
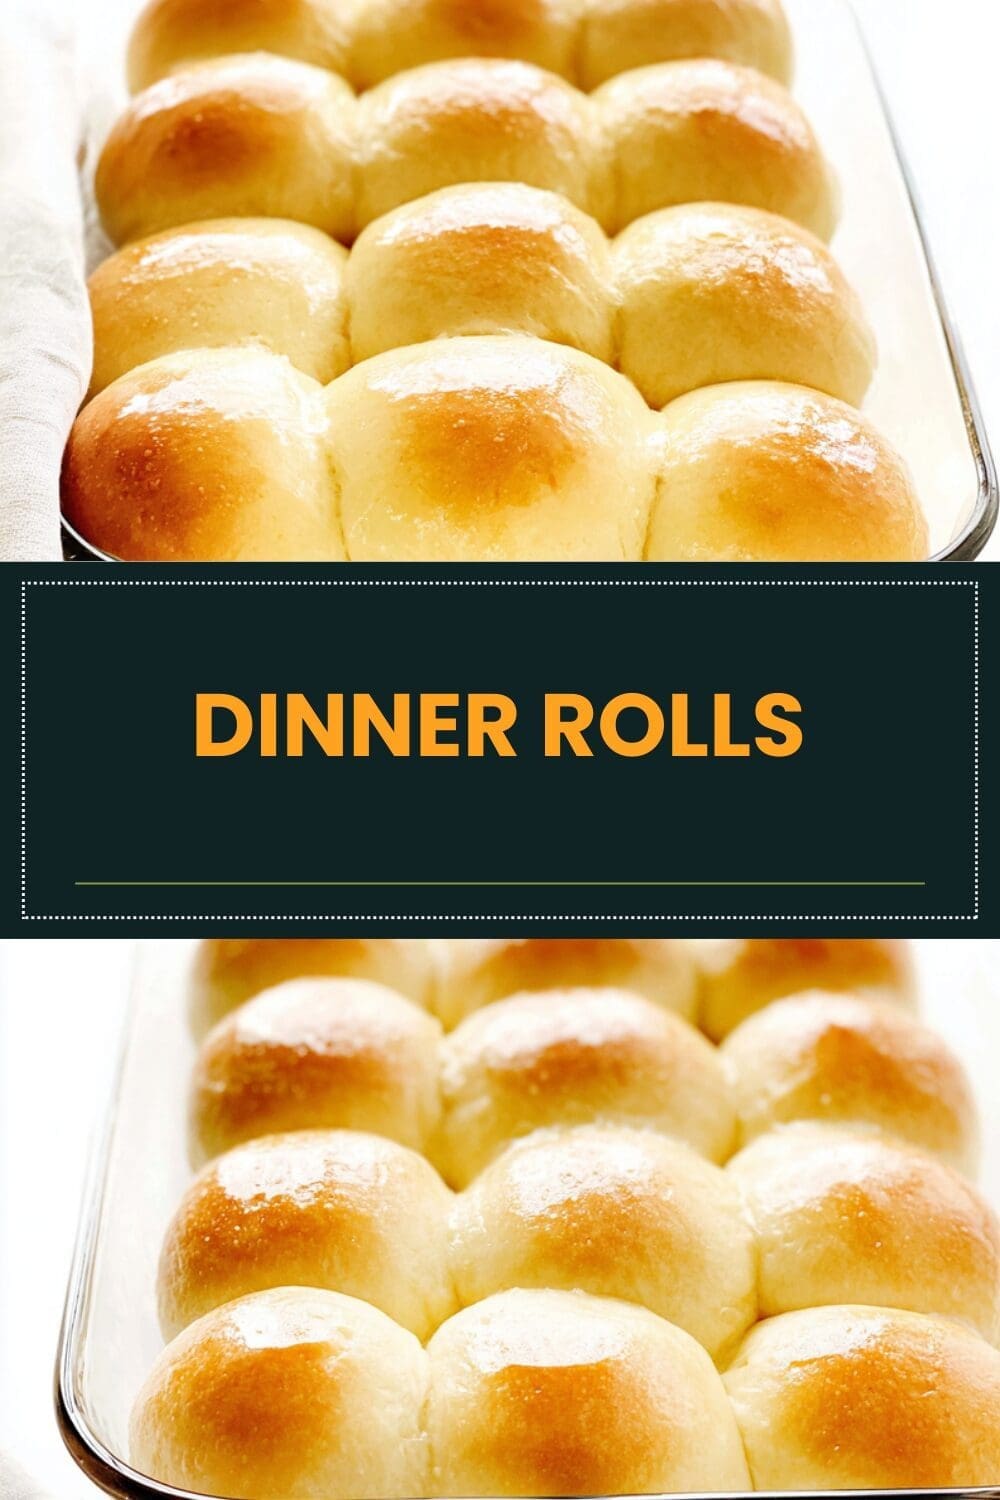
Once baked, brush the warm rolls with the optional mixture of 2 tablespoons melted butter and 1 tablespoon honey for extra flavor. Let them cool slightly before serving to enjoy that perfect texture.

Dietary Substitutions to Customize Your Dinner Rolls
Everyone has different needs, so adjusting this recipe can make it work for you. Let’s explore some simple swaps that keep the rolls tasty and inclusive for all kinds of eaters.
| Original Ingredient | Substitution Option | Reason for Change |
|---|---|---|
| Whole milk | Almond or oat milk | For vegan or lactose-free diets |
| Unsalted butter | Coconut oil or margarine | To accommodate low-calorie or vegan preferences |
| Large egg | Flaxseed egg | For egg-free baking |
These changes help maintain the rolls’ soft texture while fitting various diets. For instance, adding grated vegetables can boost nutrients without much effort.
Incorporate finely chopped herbs like rosemary or thyme for extra flavor. You can also swap traditional salt for sea salt to add a twist. These tweaks make the recipe adaptable and fun to experiment with.
Mastering Dinner Rolls: Advanced Tips and Variations
Once you’re comfortable with the basics, try these tips to take your dinner rolls to the next level. It’s all about building confidence and enjoying the process.
For a better texture, let the dough rise slowly in the fridge overnight. This cold ferment adds deeper flavors and improves the crumb. You can also mix in extras like garlic or cheese for a fresh twist on the classic recipe.
Flavor Ideas
Experiment with adding herbs, caramelized onions, or even seeds to the dough. This keeps things exciting and lets you match the rolls to your meal. For example, herb-infused rolls pair great with simple dinners.
Presentation matters too brush the tops with melted butter and sprinkle seeds for a nice look. If you’re planning ahead, make the dough in advance and freeze portions for easy baking later.
How to Store Dinner Rolls: Best Practices
Keeping your dinner rolls fresh is important to enjoy them beyond baking day. Proper storage helps maintain that soft, fluffy feel you love.
Store leftovers at room temperature for 2-3 days in an airtight container to keep them from drying out. For longer keeping, refrigerate them for up to one week, but they might firm up a bit. When you’re ready to eat, warm them in the oven for a few minutes to bring back that fresh-baked taste.
Freezing is another great option; just wrap the rolls well and thaw as needed. This method works well for meal prep, saving time on busy days. Remember, reheating gently preserves the texture and flavor.
FAQs: Frequently Asked Questions About Dinner Rolls
How do I make soft and fluffy dinner rolls at home?
To make soft and fluffy dinner rolls, use warm milk or water to activate the yeast and add a small amount of sugar to feed it. Knead the dough well to develop gluten, which gives rolls their structure. Let the dough rise until doubled, usually about 1-2 hours, in a warm place. After shaping the rolls, allow a second rise before baking at 375°F (190°C) for 15-20 minutes until golden brown. Brushing the tops with melted butter after baking keeps them soft and adds flavor.
What is the best way to store dinner rolls to keep them fresh?
Store dinner rolls in an airtight container or resealable plastic bag at room temperature for up to 2 days to maintain their softness. For longer storage, freeze cooled rolls in a freezer-safe bag for up to 3 months. Reheat frozen rolls in a preheated oven at 350°F (175°C) for 10-15 minutes wrapped in foil, or microwave them wrapped in a damp paper towel for 15-20 seconds to regain moisture and softness.
Can I make dinner rolls without yeast?
Yes, you can make dinner rolls without yeast by using baking powder or baking soda as a leavening agent. These quick breads don’t require rising time and bake faster, though they have a different texture—more crumbly and biscuit-like than traditional yeast rolls. For fluffy no-yeast rolls, try recipes for buttermilk biscuits or Irish soda bread rolls, which use chemical leaveners for lift.
How long do homemade dinner rolls typically stay fresh?
Homemade dinner rolls generally stay fresh for 1 to 2 days at room temperature when stored properly in an airtight container. After that, they may start to dry out or become stale. To extend freshness, refrigeration can help but may cause the rolls to become firmer. Freezing rolls is the best option for long-term storage, preserving their texture and flavor for up to 3 months.
What are some simple variations to customize dinner rolls?
You can customize dinner rolls easily by adding ingredients like garlic, herbs (rosemary, thyme, or parsley), cheese, or spices to the dough. Topping rolls with sesame seeds, poppy seeds, or coarse salt before baking adds texture and flavor. For a sweeter option, mix in cinnamon and sugar or brush tops with honey. These variations complement a range of meals and add a personal touch to classic dinner rolls.

Dinner Rolls
🍞 Enjoy the comforting taste of soft, fluffy homemade dinner rolls that are perfect for any meal.
🧈 Made with simple ingredients, this easy recipe yields delicious bread rolls that everyone will love.
- Total Time: 3 hours 10 minutes
- Yield: 14-16 rolls
Ingredients
– 1 cup whole milk, warmed to about 110°F (43°C)
– 2 and 1/4 teaspoons instant yeast
– 2 tablespoons granulated sugar, divided
– 1 large egg
– 1/4 cup unsalted butter, room temperature and cut into pieces
– 1 teaspoon salt
– 3 cups all-purpose flour or bread flour
– 2 tablespoons melted unsalted butter mixed with 1 tablespoon honey (optional topping)
Instructions
1-First, whisk the warm milk, yeast, and 1 tablespoon of sugar in a bowl; let it sit for 5 minutes until it becomes frothy. This step activates the yeast and is key for those fluffy results you’re aiming for. Once it’s ready, move on to mixing the rest.
2-Next, add the remaining sugar, egg, butter, salt, and 1 cup of flour to the mixture; stir on low speed for about 30 seconds. Scrape down the sides of the bowl, then incorporate the rest of the flour and beat until the dough pulls away from the sides, which takes around 2 minutes. If the dough feels too wet, add a bit more flour to get it just right.
3-Now, knead the dough either by mixer or by hand for 5 minutes until it’s soft, slightly sticky, and passes the windowpane test. This helps build the structure that makes the rolls tender. For more tips on pairing with other dishes, visit our turkey carcass soup page, which could make a great companion to your fresh rolls.
4-After kneading, place the dough in a lightly oiled bowl, cover it, and let it rise for 1-2 hours until it doubles in size. Then, grease a baking pan, punch down the dough, and divide it into 14-16 pieces. Shape each into a smooth ball and arrange them in the pan.
5-Cover the pan and let the rolls rise for about 1 hour until they’re puffy. Preheat your oven to 350°F (175°C), then bake the rolls for 20-25 minutes until golden brown, rotating the pan halfway through. If they start browning too quickly, cover with foil.
6-Once baked, brush the warm rolls with the optional mixture of 2 tablespoons melted butter and 1 tablespoon honey for extra flavor. Let them cool slightly before serving to enjoy that perfect texture.
Last Step:
Please leave a rating and comment letting us know how you liked this recipe! This helps our business to thrive and continue providing free, high-quality recipes for you.Notes
🥄 Use warm milk to activate the yeast properly.
⏲️ Let the dough rise fully for the softest, fluffiest texture.
🧈 Brush with honey butter for a sweet, glossy finish.
- Prep Time: 15 minutes
- Rising Time: 2 hours 30 minutes
- Cook Time: 20-25 minutes
- Category: Bread
- Method: Baking
- Cuisine: American
- Diet: Vegetarian
Nutrition
- Serving Size: 1 roll
- Calories: 140
- Sugar: 3g
- Sodium: 140mg
- Fat: 5g
- Saturated Fat: 3g
- Unsaturated Fat: 1.5g
- Trans Fat: 0g
- Carbohydrates: 21g
- Fiber: 1g
- Protein: 4g
- Cholesterol: 35mg


