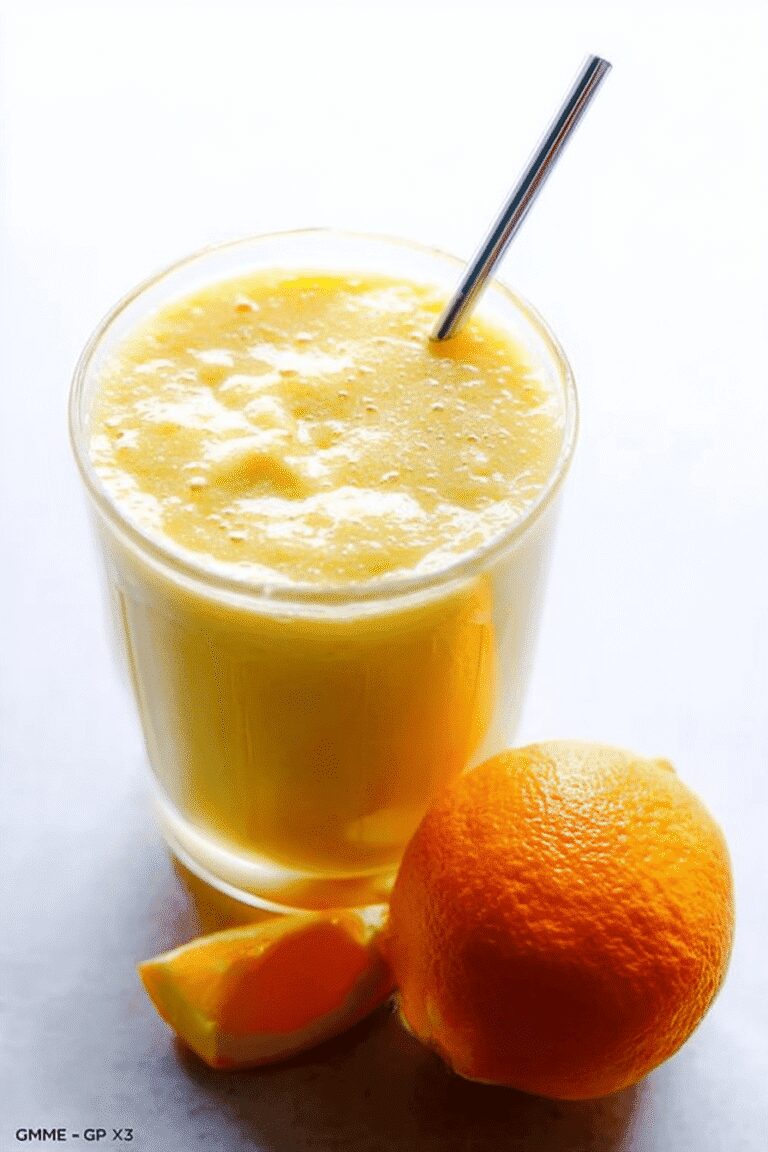
Ingredients
– 4 fresh oranges peeled for vibrant flavor and vitamin C boost
– 2 cups ice for slushy, refreshing texture
– 1/3 cup milk for creamy consistency
– 1-2 tablespoons honey or sweetener for sweetness
– 1 teaspoon vanilla extract for depth of flavor
– 1 large banana for natural sweetness and creamier texture
– 1/4 cup plain Greek yogurt for protein and creamy tanginess
– 15-20 grams protein powder for meal replacement
– 1 cup frozen mango pieces for sweetness and thickness
Instructions
1-First Step: Preparing Your Oranges Start by selecting 4 fresh, juicy oranges. Varieties like Navel or Valencia work wonderfully due to their natural sweetness and较低的酸度. Rinse the oranges under cool water to remove any dirt or residue from the peel. Using a sharp knife, carefully slice off both ends of each orange, creating a flat surface. Then, following the curve of the fruit, cut away the peel and white pith. This step is important because the pith can add bitterness to your final smoothie. Once peeled, separate the oranges into segments if possible, or simply cut them into chunks that will fit easily into your blender. If you’re planning ahead, you could freeze the orange segments at this stage for an extra-thick smoothie later!
2-Second Step: Assembling Your Ingredients Now that your oranges are ready, it’s time to gather all your ingredients near the blender. Trust me, having everything within reach makes the process so much smoother (pun intended!). Place your peeled orange pieces in the blender first, as they’re the heaviest ingredients and should be closest to the blades for efficient blending. Add your 2 cups of ice on top of the oranges. If you’re using any of the optional frozen ingredients like banana or mango, add them now too. The frozen elements will help keep the smoothie cold and contribute to that irresistible thick texture. Next, pour in your choice of milk (dairy, almond, coconut, or whatever you prefer) at 1/3 cup. If you’re including Greek yogurt or protein powder, add those ingredients as well. Finish with 1 teaspoon of vanilla extract. If you prefer your smoothie on the sweeter side, now’s the time to add 1-2 tablespoons of honey or your preferred sweetener.
3-Third Step: Blending to Perfection Secure the lid on your blender tightly this is not the step where you want any orange smoothie escapees! Start blending on a low setting to break down the larger pieces, then gradually increase to high speed. Blend for about 45-60 seconds, or until the mixture is completely smooth with no visible chunks of fruit or ice remaining. If you notice that the smoothie seems too thick to blend properly, you can add an additional splash of milk or water to help things move along. Conversely, if your smoothie is too thin for your liking, toss in a few more ice cubes and blend again until you reach your desired consistency. Remember, unlike cooking, smoothie-making is very forgiving and can easily be adjusted as you go!
4-Fourth Step: Checking and Adjusting After blending, pause to check the consistency of your smoothie. Give it a good stir with a spatula, bringing any unblended bits from the sides toward the center for another quick blend if needed. This is also the perfect time to taste test! If you’d like it sweeter, add a bit more sweetener; if you’re craving more citrus punch, consider adding the optional orange zest I mentioned earlier. For those who prefer a smoother texture without the natural pulp from the oranges, now is the time to strain your smoothie. Place a fine-mesh sieve over a large bowl or pitcher and carefully pour the blended mixture through it. Use a spatula to press the liquid through the sieve, leaving the pulp behind. I personally like to keep the pulp for the added fiber, but I totally get that some people prefer a silkier smoothie experience!
5-Final Step: Serving and Enjoying Pour your freshly blended orange smoothie into tall glasses, filling them to about an inch from the top to allow room for any fun toppings you might want to add. For an extra special touch, consider garnishing with a wheel of fresh orange on the rim of the glass or a sprinkle of orange zest on top. Serve your smoothie immediately while it’s still frosty and refreshing. This recipe makes approximately 4-5 cups of smoothie (depending on how much ice you use), which is perfect for sharing or for enjoying a larger portion yourself! If you’re feeling inspired, you might want to explore other easy breakfast ideas to complement your fresh orange creation.
Last Step:
Please leave a rating and comment letting us know how you liked this recipe! This helps our business to thrive and continue providing free, high-quality recipes for you.Notes
🍊 For better thickness and to reduce ice needed, freeze peeled oranges for at least 30 minutes before blending
🥛 Any milk variety works well – almond milk reduces calories while coconut milk adds creaminess
🍌 Add protein powder or Greek yogurt to boost protein content and improve texture
- Prep Time: 5 minutes
- Cook Time: 0 minutes
- Category: Beverages
- Method: Blending
- Cuisine: International
- Diet: Vegetarian
Nutrition
- Serving Size: 1 cup
- Calories: 85
- Sugar: 16
- Sodium: 10
- Fat: 1
- Saturated Fat: 0.2
- Unsaturated Fat: 0.8
- Trans Fat: 0
- Carbohydrates: 20
- Fiber: 3
- Protein: 2
- Cholesterol: 0