Ingredients
– 1 large egg
– 1 to 2 tablespoons light-colored vinegar for helping egg whites set
Instructions
First Step: Gather Your Tools and Ingredients: Start by collecting what you need: a large pot, a fine mesh sieve, a ramekin or small bowl, and your ingredients like 1 large egg and 1 to 2 tablespoons of light-colored vinegar if you’re using it. This mise en place helps everything run smoothly and reduces stress. For dietary tweaks, if you’re going low-calorie, ensure your egg is the freshest possible to minimize waste. Fill the pot with enough water at least 4 inches deep for that classic spherical shape.
Second Step: Heat the Water: Bring a large pot of water to a boil, then reduce the heat to low so it’s at a gentle simmer, around 180-190 degrees Fahrenheit. This temperature is crucial for poached eggs to avoid overcooking the outside while the inside stays runny. If you’re poaching multiple eggs, you might skip the vortex later, which is a simple adaptation for crowds. Avoid adding salt here, as it can create wispy whites stick to the poached egg method for clean results.
Third Step: Prepare the Egg: Crack the egg into a fine mesh sieve over a bowl and swirl gently to remove the liquidy egg whites, which helps achieve a neat shape. For a link to more tips, check out our easy breakfast recipes on the blog. Then, place the egg in a ramekin for a clean pour. This step works great for seniors or newlyweds who want to check for shell fragments first, ensuring a smooth process.
Fourth Step: Add Vinegar and Create the Vortex: If using, add 1 to 2 tablespoons of light-colored vinegar to the water and stir to create a gentle vortex do this only for one egg to get that spherical form. This optional step aids in keeping the whites together without affecting flavor. For variations like poached eggs without vinegar, simply omit it and rely on fresh eggs for better cohesion, which is ideal for those with taste preferences.
Fifth Step: Poach the Egg: Gently pour the egg from the ramekin into the center of the vortex in the water. Poach for about 3 minutes for a firm white and runny yolk, adjusting to 4 minutes if you prefer it firmer. This timing ensures versatility for different yolk consistencies, like runny poached eggs for a classic feel. If you’re making this for college students or apartment dwellers, it’s a quick way to add protein to any meal.
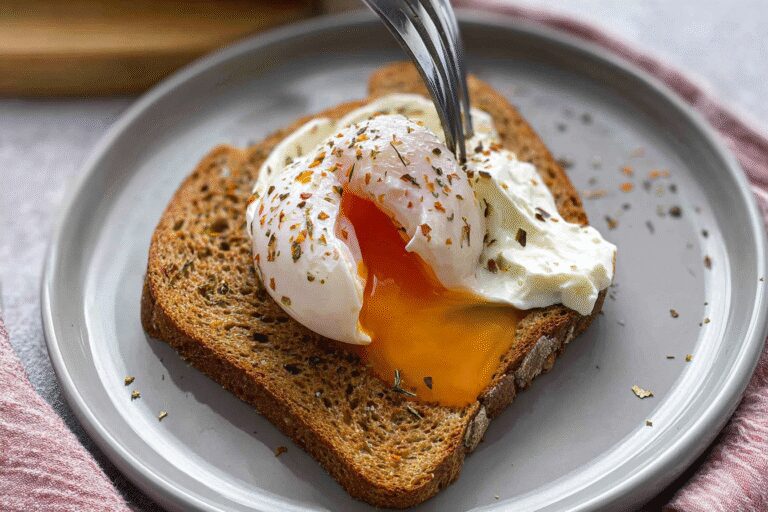
Sixth Step: Remove and Serve: Use a slotted spoon to remove the egg and blot excess water with a paper towel. Serve immediately for the best texture, perhaps on toast for a complete dish. For external reference, you can check this detailed poached eggs tutorial for more visuals. This step is where the poached egg really shines, and you can adapt it for low-calorie options by pairing with fresh veggies.
Last Step:
Please leave a rating and comment letting us know how you liked this recipe! This helps our business to thrive and continue providing free, high-quality recipes for you.Notes
💧 Avoid adding salt to the water as it causes more egg white wisps.
🍋 Use vinegar in small amounts to help the white stay together without affecting taste.
🍳 Create a swirling vortex for one egg to get a spherical shape; skip vortex for multiple eggs.
- Prep Time: 5 minutes
- Cook Time: 3 minutes
- Category: Breakfast
- Method: Poaching
- Cuisine: Universal
- Diet: Gluten-Free, Low-Carb, Keto, Paleo
Nutrition
- Serving Size: 1 egg
- Calories: 65
- Sodium: 62mg
- Fat: 4g
- Saturated Fat: 1g
- Protein: 5g
- Cholesterol: 163mg