

Why You’ll Love This Pumpkin Scones
This pumpkin scones recipe stands out as a simple yet delightful treat that captures the essence of fall baking. With its straightforward preparation, it’s ideal for beginners and busy schedules, taking just 45 minutes from start to finish to yield 8 warm, flavorful scones. You’ll appreciate how nutrient-packed pumpkin puree adds vitamins A and C, fiber, and antioxidants, making these scones a smarter choice compared to typical baked goods.
Health-focused bakers can tweak this recipe to include whole grain flours or cut back on sugar, enhancing its wholesome appeal without sacrificing taste. The blend of warm spices like cinnamon, nutmeg, and cloves delivers a distinctive autumn flavor that feels comforting and seasonal. Whether you’re adapting it for vegan, gluten-free, or low-calorie needs, this recipe’s versatility makes it a go-to option for everyone from busy parents to health-conscious students.
Its adaptability shines through substitutions that maintain the scones’ moist texture and rich taste, ensuring it fits various dietary preferences. This recipe’s ease and flexibility help build confidence in the kitchen, turning even novice bakers into pros with minimal effort. Overall, these pumpkin scones combine simplicity, nutrition, and flavor in a way that will quickly become a favorite fall staple.
Jump to:
- Why You’ll Love This Pumpkin Scones
- Essential Ingredients for Pumpkin Scones
- How to Prepare the Perfect Pumpkin Scones: Step-by-Step Guide
- Dietary Substitutions to Customize Your Pumpkin Scones
- Mastering Pumpkin Scones: Advanced Tips and Variations
- How to Store Pumpkin Scones: Best Practices
- FAQs: Frequently Asked Questions About Pumpkin Scones
- What texture should I expect from homemade pumpkin scones?
- Can I use milk instead of heavy cream or buttermilk in pumpkin scones?
- Why should I brush pumpkin scones with heavy cream before baking?
- How do I make a maple glaze for pumpkin scones, and when should I apply it?
- Can I make pumpkin scones ahead of time and how should I store them?
- Pumpkin Scones
- Ingredients
- Instructions
- Last Step:
- Notes
- Nutrition
- Did you make this recipe?
Essential Ingredients for Pumpkin Scones
Gathering the right ingredients is key to creating perfect pumpkin scones, and this recipe uses a precise mix of pantry staples and seasonal flavors. Below is a comprehensive list of all the ingredients needed, including exact measurements from the recipe to ensure accuracy and ease of preparation.
- 2 cups all-purpose flour – provides the base structure for the scones.
- 2 and 1/2 teaspoons baking powder – helps the scones rise and achieve a light texture.
- 1 teaspoon ground cinnamon – adds warm, aromatic spice.
- 1 and 1/2 teaspoons pumpkin pie spice (or a blend of: 1/2 teaspoon ground allspice, 1/2 teaspoon ground ginger, 1/4 teaspoon ground nutmeg, 1/4 teaspoon ground cloves) – delivers the signature fall flavor profile.
- 1/2 teaspoon salt – enhances the overall taste and balances sweetness.
- 1/2 cup (8 tablespoons) unsalted butter, frozen – creates flaky layers when grated into the dough.
- 1/3 cup plus 2 tablespoons heavy cream, divided – binds the ingredients and adds moisture, with the extra for brushing.
- 1 large egg – helps bind the wet ingredients for a tender crumb.
- 1/2 cup canned pumpkin puree, blotted to remove excess moisture – infuses moisture, nutrients, and flavor.
- 1/2 cup light brown sugar – provides balanced sweetness with a hint of molasses.
- 1 teaspoon pure vanilla extract – adds depth and a subtle aroma.
- Optional: coarse sugar for sprinkling on top before baking – gives a crunchy finish.
For the maple glaze, you’ll need these additional items:
- 2 tablespoons unsalted butter – forms the base of the glaze.
- 1/3 cup pure maple syrup – brings natural sweetness and rich flavor.
- 1 cup sifted confectioners’ sugar – creates a smooth, drizzling consistency.
- Pinch of salt to taste – balances the sweetness perfectly.
With these ingredients on hand, you can easily adapt for special diets, such as using plant-based butter for vegan options or gluten-free flour blends to meet dietary needs. This structured list makes shopping and measuring straightforward, helping home bakers achieve consistent results every time.
How to Prepare the Perfect Pumpkin Scones: Step-by-Step Guide
Creating homemade pumpkin scones is a rewarding process that results in a cozy treat ready in about 45 minutes. For more on basic baking techniques, check out our baking tips for beginners to build your confidence. Start by preheating your oven to 400°F and lining a baking sheet with parchment paper for easy cleanup and even baking.
In a large bowl, whisk together 2 cups all-purpose flour, 2 and 1/2 teaspoons baking powder, 1 teaspoon ground cinnamon, 1 and 1/2 teaspoons pumpkin pie spice, and 1/2 teaspoon salt to blend the dry ingredients evenly. Grate 1/2 cup frozen unsalted butter into this mixture and combine it using a pastry cutter, fork, or your fingers until it forms pea-sized crumbs for that flaky texture.
In another bowl, whisk together 1/3 cup heavy cream, 1 large egg, 1/2 cup blotted canned pumpkin puree, 1/2 cup light brown sugar, and 1 teaspoon pure vanilla extract until well mixed. Pour this wet mixture over the dry ingredients and stir lightly until just combined, being careful not to overmix for tender results.
Lightly dust your hands with flour, shape the dough into a ball, and transfer it to a floured surface. Flatten it into an 8-inch disc and cut it into 8 equal wedges; for smaller scones, divide the disc into two 5-inch ones and cut each into 8 wedges. Place the wedges 2 inches apart on the prepared baking sheet, brush with the remaining 2 tablespoons heavy cream, and sprinkle with coarse sugar if you want added crunch.
Bake the larger scones for 20 to 25 minutes or the smaller ones for 18 to 20 minutes until they’re lightly browned. Once out of the oven, let them cool slightly before preparing the glaze: Melt 2 tablespoons unsalted butter and 1/3 cup pure maple syrup over low heat, then whisk in 1 cup sifted confectioners’ sugar and a pinch of salt until smooth. Drizzle the warm glaze over the scones and serve them warm for the best flavor. Dietary adaptations, like using gluten-free flour in the dry mix or plant-based alternatives in the wet ingredients, keep this recipe flexible for all.

Dietary Substitutions to Customize Your Pumpkin Scones
One of the best parts of this pumpkin scones recipe is how easily it adapts to different preferences and restrictions. You can swap out main components like using almond flour or chickpea flour instead of all-purpose flour to boost protein and add a nutty texture that keeps the scones satisfying.
For vegetable variations, try adding shredded zucchini or carrot to the mix for extra moisture and nutrients, or replace pumpkin puree with sweet potato puree if you’re out of the seasonal favorite. When it comes to seasonings, experiment with spices like ginger or cardamom to give your scones a fresh twist that complements the fall vibes.
If you’re watching sugar intake, switch traditional sugar with maple syrup or agave nectar for a natural sweetness that blends seamlessly. These changes ensure your pumpkin scones remain delicious while fitting into vegan, gluten-free, or low-calorie lifestyles, making baking accessible for everyone from students to seniors.
Mastering Pumpkin Scones: Advanced Tips and Variations
To elevate your pumpkin scones beyond the basics, focus on key techniques like chilling the dough before baking, which helps create flakier layers and a better rise in the oven. Add fun mix-ins such as chopped pecans, dried cranberries, or chocolate chips to introduce new textures and flavors that make each bite exciting. For a polished look, serve your scones with a dollop of whipped cream or a drizzle of spiced glaze to enhance their visual appeal and taste.
Planning ahead is simple prepare the dough in advance and freeze individual wedges so you can bake fresh scones whenever you need them. These tips build on the core recipe, helping bakers of all levels create personalized treats that stand out. Remember, gentle handling and fresh ingredients are your secrets to success here.
| Tips Category | Details |
|---|---|
| Texture Tips | Grate frozen butter finely and blot pumpkin puree to avoid a dense result. |
| Mixing Advice | Mix dough gently to keep it tender and use a sharp knife for clean cuts. |
| Storage Hacks | Freeze unbaked scones for up to 3 months and thaw before baking. |
How to Store Pumpkin Scones: Best Practices
Proper storage keeps your pumpkin scones fresh and tasty, extending their enjoyment beyond baking day. Keep them in an airtight container in the refrigerator for up to 3 days to maintain their moist texture and flavor. For longer-term options, wrap scones individually in plastic wrap and store in a freezer-safe bag for up to 3 months.
When you’re ready to eat, reheat them in a 350°F oven for about 10 minutes or use the microwave for a quick warm-up that restores their softness. This approach works well for meal prep, letting you bake in batches and have ready-to-go treats for busy mornings or quick snacks.
FAQs: Frequently Asked Questions About Pumpkin Scones
What texture should I expect from homemade pumpkin scones?
Homemade pumpkin scones typically have a soft, flaky center with a crisp top and crumbly edges. Achieving this texture involves using cold butter grated into the flour, which releases steam during baking to create tender pockets. Blotting excess moisture from the pumpkin puree also helps maintain the right texture, preventing scones from becoming overly moist or dense.
Can I use milk instead of heavy cream or buttermilk in pumpkin scones?
It’s best to avoid substituting milk or nondairy milk for heavy cream or buttermilk in pumpkin scone recipes. Heavy cream or buttermilk provides the necessary fat and acidity that contribute to the scones’ moistness and flaky texture. Using milk may result in a denser, less tender scone.
Why should I brush pumpkin scones with heavy cream before baking?
Brushing pumpkin scones with heavy cream before baking helps create a slightly sweet, crisp exterior. When combined with a sprinkle of coarse sugar, it adds a subtle crunch and enhances the scone’s golden-brown appearance. This step improves both texture and visual appeal.
How do I make a maple glaze for pumpkin scones, and when should I apply it?
To make a maple glaze, melt butter and pure maple syrup together over low heat, then whisk in sifted confectioners’ sugar and a pinch of salt off the heat until smooth. Apply the glaze while the scones are still warm so it seeps into every crack and layer, enriching the flavor and adding a sweet finish.
Can I make pumpkin scones ahead of time and how should I store them?
Yes, baked pumpkin scones can be stored by freezing them for up to three months. Place plain scones in an airtight container or freezer bag. When ready to eat, thaw them in the refrigerator overnight and reheat before applying any glaze or icing. This method preserves freshness and texture effectively.

Pumpkin Scones
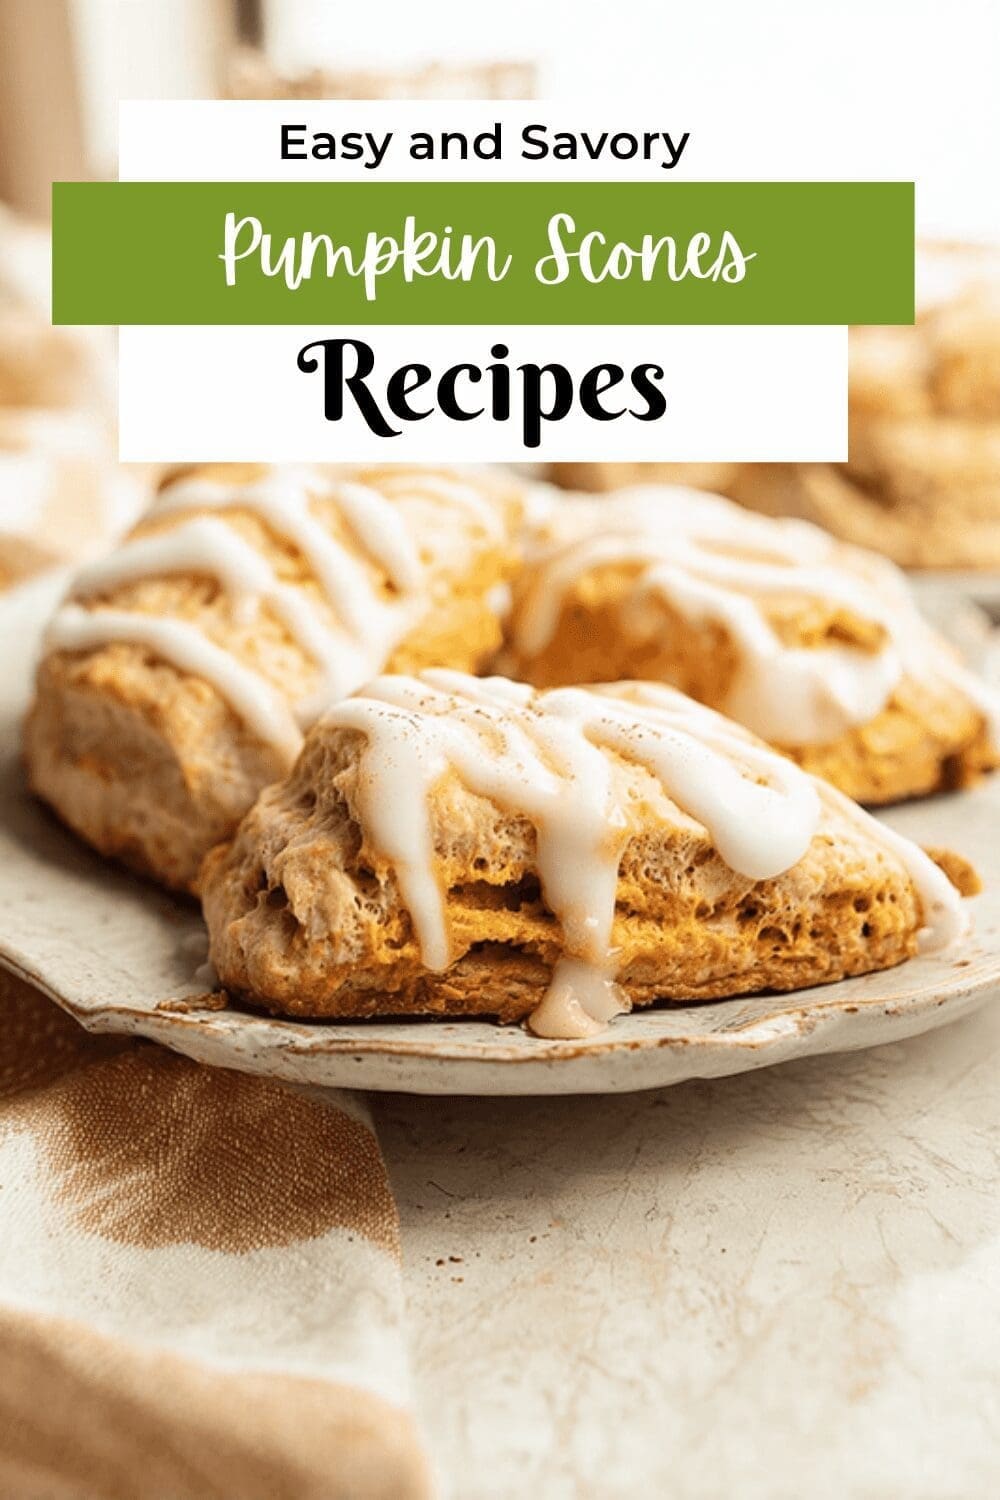
🎃 Savor the cozy flavors of fall with these Classic Pumpkin Scones, featuring warm spices and tender pumpkin puree.
🍁 Perfect for breakfast or a comforting snack, these scones offer a flaky texture with a sweet maple glaze finish.
- Total Time: 45 minutes
- Yield: 8 scones
Ingredients
– 2 cups all-purpose flour provides the base structure for the scones
– 2 and 1/2 teaspoons baking powder helps the scones rise and achieve a light texture
– 1 teaspoon ground cinnamon adds warm, aromatic spice
– 1 and 1/2 teaspoons pumpkin pie spice (or a blend of: 1/2 teaspoon ground allspice, 1/2 teaspoon ground ginger, 1/4 teaspoon ground nutmeg, 1/4 teaspoon ground cloves) delivers the signature fall flavor profile
– 1/2 teaspoon salt enhances the overall taste and balances sweetness
– 1/2 cup (8 tablespoons) unsalted butter, frozen creates flaky layers when grated into the dough
– 1/3 cup plus 2 tablespoons heavy cream, divided binds the ingredients and adds moisture, with the extra for brushing
– 1 large egg helps bind the wet ingredients for a tender crumb
– 1/2 cup canned pumpkin puree, blotted to remove excess moisture infuses moisture, nutrients, and flavor
– 1/2 cup light brown sugar provides balanced sweetness with a hint of molasses
– 1 teaspoon pure vanilla extract adds depth and a subtle aroma
– Optional: coarse sugar for sprinkling on top before baking gives a crunchy finish
– 2 tablespoons unsalted butter forms the base of the glaze
– 1/3 cup pure maple syrup brings natural sweetness and rich flavor
– 1 cup sifted confectioners’ sugar creates a smooth, drizzling consistency
– Pinch of salt to taste balances the sweetness perfectly
Instructions
1-Preheat oven: Start by preheating your oven to 400°F and lining a baking sheet with parchment paper for easy cleanup and even baking.
2-Mix dry ingredients: In a large bowl, whisk together 2 cups all-purpose flour, 2 and 1/2 teaspoons baking powder, 1 teaspoon ground cinnamon, 1 and 1/2 teaspoons pumpkin pie spice, and 1/2 teaspoon salt to blend the dry ingredients evenly. Grate 1/2 cup frozen unsalted butter into this mixture and combine it using a pastry cutter, fork, or your fingers until it forms pea-sized crumbs for that flaky texture.
3-Mix wet ingredients: In another bowl, whisk together 1/3 cup heavy cream, 1 large egg, 1/2 cup blotted canned pumpkin puree, 1/2 cup light brown sugar, and 1 teaspoon pure vanilla extract until well mixed. Pour this wet mixture over the dry ingredients and stir lightly until just combined, being careful not to overmix for tender results.
4-Shape dough: Lightly dust your hands with flour, shape the dough into a ball, and transfer it to a floured surface. Flatten it into an 8-inch disc and cut it into 8 equal wedges; for smaller scones, divide the disc into two 5-inch ones and cut each into 8 wedges. Place the wedges 2 inches apart on the prepared baking sheet, brush with the remaining 2 tablespoons heavy cream, and sprinkle with coarse sugar if you want added crunch.
5-Bake and glaze: Bake the larger scones for 20 to 25 minutes or the smaller ones for 18 to 20 minutes until they’re lightly browned. Once out of the oven, let them cool slightly before preparing the glaze: Melt 2 tablespoons unsalted butter and 1/3 cup pure maple syrup over low heat, then whisk in 1 cup sifted confectioners’ sugar and a pinch of salt until smooth. Drizzle the warm glaze over the scones and serve them warm for the best flavor. Dietary adaptations, like using gluten-free flour in the dry mix or plant-based alternatives in the wet ingredients, keep this recipe flexible for all.
Last Step:
Please leave a rating and comment letting us know how you liked this recipe! This helps our business to thrive and continue providing free, high-quality recipes for you.Notes
🧈 Grate frozen butter finely for a flaky, tender texture.
🎃 Blot pumpkin puree to remove excess moisture and prevent soft texture.
🍽 Mix dough gently to avoid tough scones.
- Prep Time: 20 minutes
- Cook Time: 25 minutes
- Category: Breakfast
- Method: Baking
- Cuisine: American
Nutrition
- Serving Size: 1 scone


