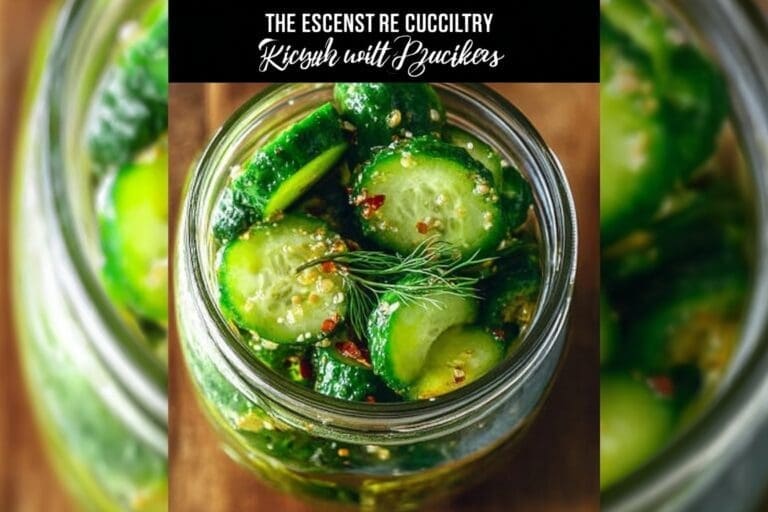
Ingredients
– 1 1/4 cups distilled white vinegar (5% acidity) for sharp pickle flavor and preservation
– 3 tablespoons kosher salt for seasoning the brine and keeping cucumbers crisp
– 2 tablespoons sugar for balancing the vinegar and rounding out the flavor
– 2 cups cold water for cooling the brine
– 1 3/4 to 2 pounds Kirby cucumbers, about 6, cut into halves or spears for crunchy pickles
– 2 tablespoons coriander seeds for warm, citrusy depth
– 6 large garlic cloves, peeled and halved for bold savory flavor
– 1 teaspoon mustard seeds for gentle spice and classic pickle taste
– 1/4 teaspoon red pepper flakes for light hint of heat
– 16 dill sprigs for fresh herbal flavor
Instructions
1-First Step: Make the brine In a small non-reactive saucepan over high heat, combine the 1 1/4 cups distilled white vinegar, 3 tablespoons kosher salt, and 2 tablespoons sugar. Whisk until everything dissolves completely. Using a non-reactive pan matters here because stainless steel, glass, ceramic, or Teflon keeps the brine from picking up a metallic taste. Once the salt and sugar dissolve, transfer the hot mixture to a bowl. Whisk in the 2 cups cold water to bring the temperature down faster. Then place the bowl in the refrigerator until the brine is fully chilled. A cold brine helps protect the cucumbers from softening too quickly, which is one reason this refrigerator pickles recipe works so well.
2-Second Step: Prepare the cucumbers and jars Wash and dry the 1 3/4 to 2 pounds Kirby cucumbers, then cut them into halves or spears, depending on how you want to serve them. Stuff the cucumbers into two clean 1-quart jars. Pack them in snugly, but do not smash them down. You want room for the brine and the seasonings to move around the jar. If you are making these for a family snack box, sandwich bar, or meal prep, spears are easy to grab. Halves are great for burgers or serving alongside lunches. Either way, Kirby cucumbers give you that crisp bite people expect from real cucumber pickles.
3-Third Step: Add the flavorings Divide the 2 tablespoons coriander seeds, 6 large garlic cloves, peeled and halved, 1 teaspoon mustard seeds, 1/4 teaspoon red pepper flakes, and 16 dill sprigs evenly between the two jars. Try to spread the flavoring ingredients throughout the cucumbers instead of leaving them all on top. That way, each jar gets a more even taste from top to bottom. This is where the jars start looking like the kind of homemade dill pickles people assume took all day. In reality, the flavor work is already mostly done. The mix of dill, garlic, and spices gives you a classic pickle recipe taste with just a little heat from the pepper flakes.
4-Fourth Step: Pour in the chilled brine Take the chilled brine out of the refrigerator and pour it over the cucumbers in both jars. Add a little more cold water if needed so all the cucumbers are fully covered. This matters because cucumbers exposed above the liquid can soften or discolor more quickly. Leave a small amount of space at the top of each jar so the liquid can settle without overflowing. If some cucumber pieces float, gently nudge them down with a clean utensil. A snug fit usually helps keep them submerged, and that keeps the texture more even. This step is especially helpful for anyone looking for a dependable refrigerator pickles quick recipe they can repeat without guesswork.
5-Final Step: Chill and serve Cover the jars with lids and refrigerate them for about 24 hours before serving. The flavor gets better as the cucumbers sit, but they are usually ready after one day. The total time is about 24 hours, but your active time stays under 30 minutes, which makes this an easy fit for busy weekdays. After chilling, taste a pickle and check the balance. If you like a stronger brine, you can let the jars sit a little longer. If the pickles seem too salty in future batches, reduce the salt slightly next time. These are the kind of practical adjustments that make an easy pickle recipe refrigerator style method friendly for real home kitchens.
Last Step:
Please leave a rating and comment letting us know how you liked this recipe! This helps our business to thrive and continue providing free, high-quality recipes for you.Notes
🥒 Always use Kirby or pickling cucumbers for superior crispness and texture.
🍳 Use non-reactive cookware like stainless steel or glass to avoid metallic flavors.
♻️ Reuse the brine for 1-2 additional batches of pickles for even more convenience.
- Prep Time: 20 minutes
- Refrigeration: 24 hours
- Cook Time: 5 minutes
- Category: Condiments
- Method: Pickling
- Cuisine: American
- Diet: Vegan
Nutrition
- Serving Size: 1/4 cup (4-6 spears)
- Calories: 12 kcal
- Sugar: 2 g
- Sodium: 467 mg
- Fat: 0 g
- Saturated Fat: 0 g
- Unsaturated Fat: 0 g
- Trans Fat: 0 g
- Carbohydrates: 3 g
- Fiber: 0 g
- Protein: 0 g
- Cholesterol: 0 mg