

Thick Chocolate Chip Cookies
These cookies are the reason I keep a stash of frozen dough balls in my freezer at all times. This Thick Chocolate Chip Cookies recipe comes from Jessie Bakes Cakes, and it is the thickest, chunkiest chocolate chip cookie I have baked at home.

Every cookie is crisp and golden on the outside, gooey and molten in the middle, and packed with chocolate chips. Each one weighs 120 grams. The post was last updated on July 7, 2025.
Jump to:
- Thick Chocolate Chip Cookies
- Why these cookies are the BEST
- The cookie debate: thick & gooey vs. thin & chewy cookies
- 5 tips for baking thick chocolate chip cookies
- 1: Use cold butter
- 2: Use good quality chocolate chips
- 3: Freeze the cookie dough before baking
- 4: Use a pre heated, dark baking tray
- 5: Thick cookies are best enjoyed straightaway
- Ingredients
- Instructions
- Notes
- Recipe details
- FAQs
- What makes chocolate chip cookies thick?
- Why bake thick cookies on a preheated dark baking tray?
- How long should you freeze cookie dough for thick cookies?
- What is the best flour for thick and soft chocolate chip cookies?
- Thick Chocolate Chip Cookies
- Ingredients
- Instructions
- Last Step:
- Did you make this recipe?
Why these cookies are the BEST
If you like a cookie with real presence, this is the one. Here is what makes them stand out:

- Each cookie weighs 120 g, so they bake up big, chunky, and bakery style
- The outside is rustic and golden brown, with cracks and crinkles
- The edge stays crisp while the middle stays gooey
- They are filled with milk chocolate chips that melt into little pools
- The dough comes together in one bowl, no mixer marathon required
I bring a batch to cookouts and they never survive the first hour on the cooling rack.
The cookie debate: thick & gooey vs. thin & chewy cookies
Every baker ends up picking a side eventually. Thick, gooey cookies with a soft middle on one team. Thin, chewy cookies with snappy edges on the other.
Honestly, I love both, and it depends entirely on my mood. On a cold afternoon I want something substantial that I can break in half and watch the chocolate stretch.
On a hot day I want a thin, crisp cookie next to a glass of iced coffee.

This recipe sits firmly on the thick side. It is written in the New York City style, where the cookies are tall, heavy, and a little dramatic.
If your heart belongs to the thin and chewy camp instead, Jessie Bakes Cakes has a separate recipe for thin, chewy cookies similar to Millie’s cookies, so you can bake whichever version you are craving.
Start with the thick one if you have ever pulled a tray out of the oven and watched your cookies flatten into pancakes. Frozen dough and a hot tray change everything.
5 tips for baking thick chocolate chip cookies
This recipe did not appear fully formed. It went through a lot of testing and trial and error to become reliable in a home oven. The tips below are the lessons from all that testing, and they are the difference between a flat cookie and a thick one.
1: Use cold butter
Most cookie recipes tell you to soften the butter or melt it. This one deliberately starts cold. Less warmth in the dough means less spread in the oven, and less spread means a thicker cookie.
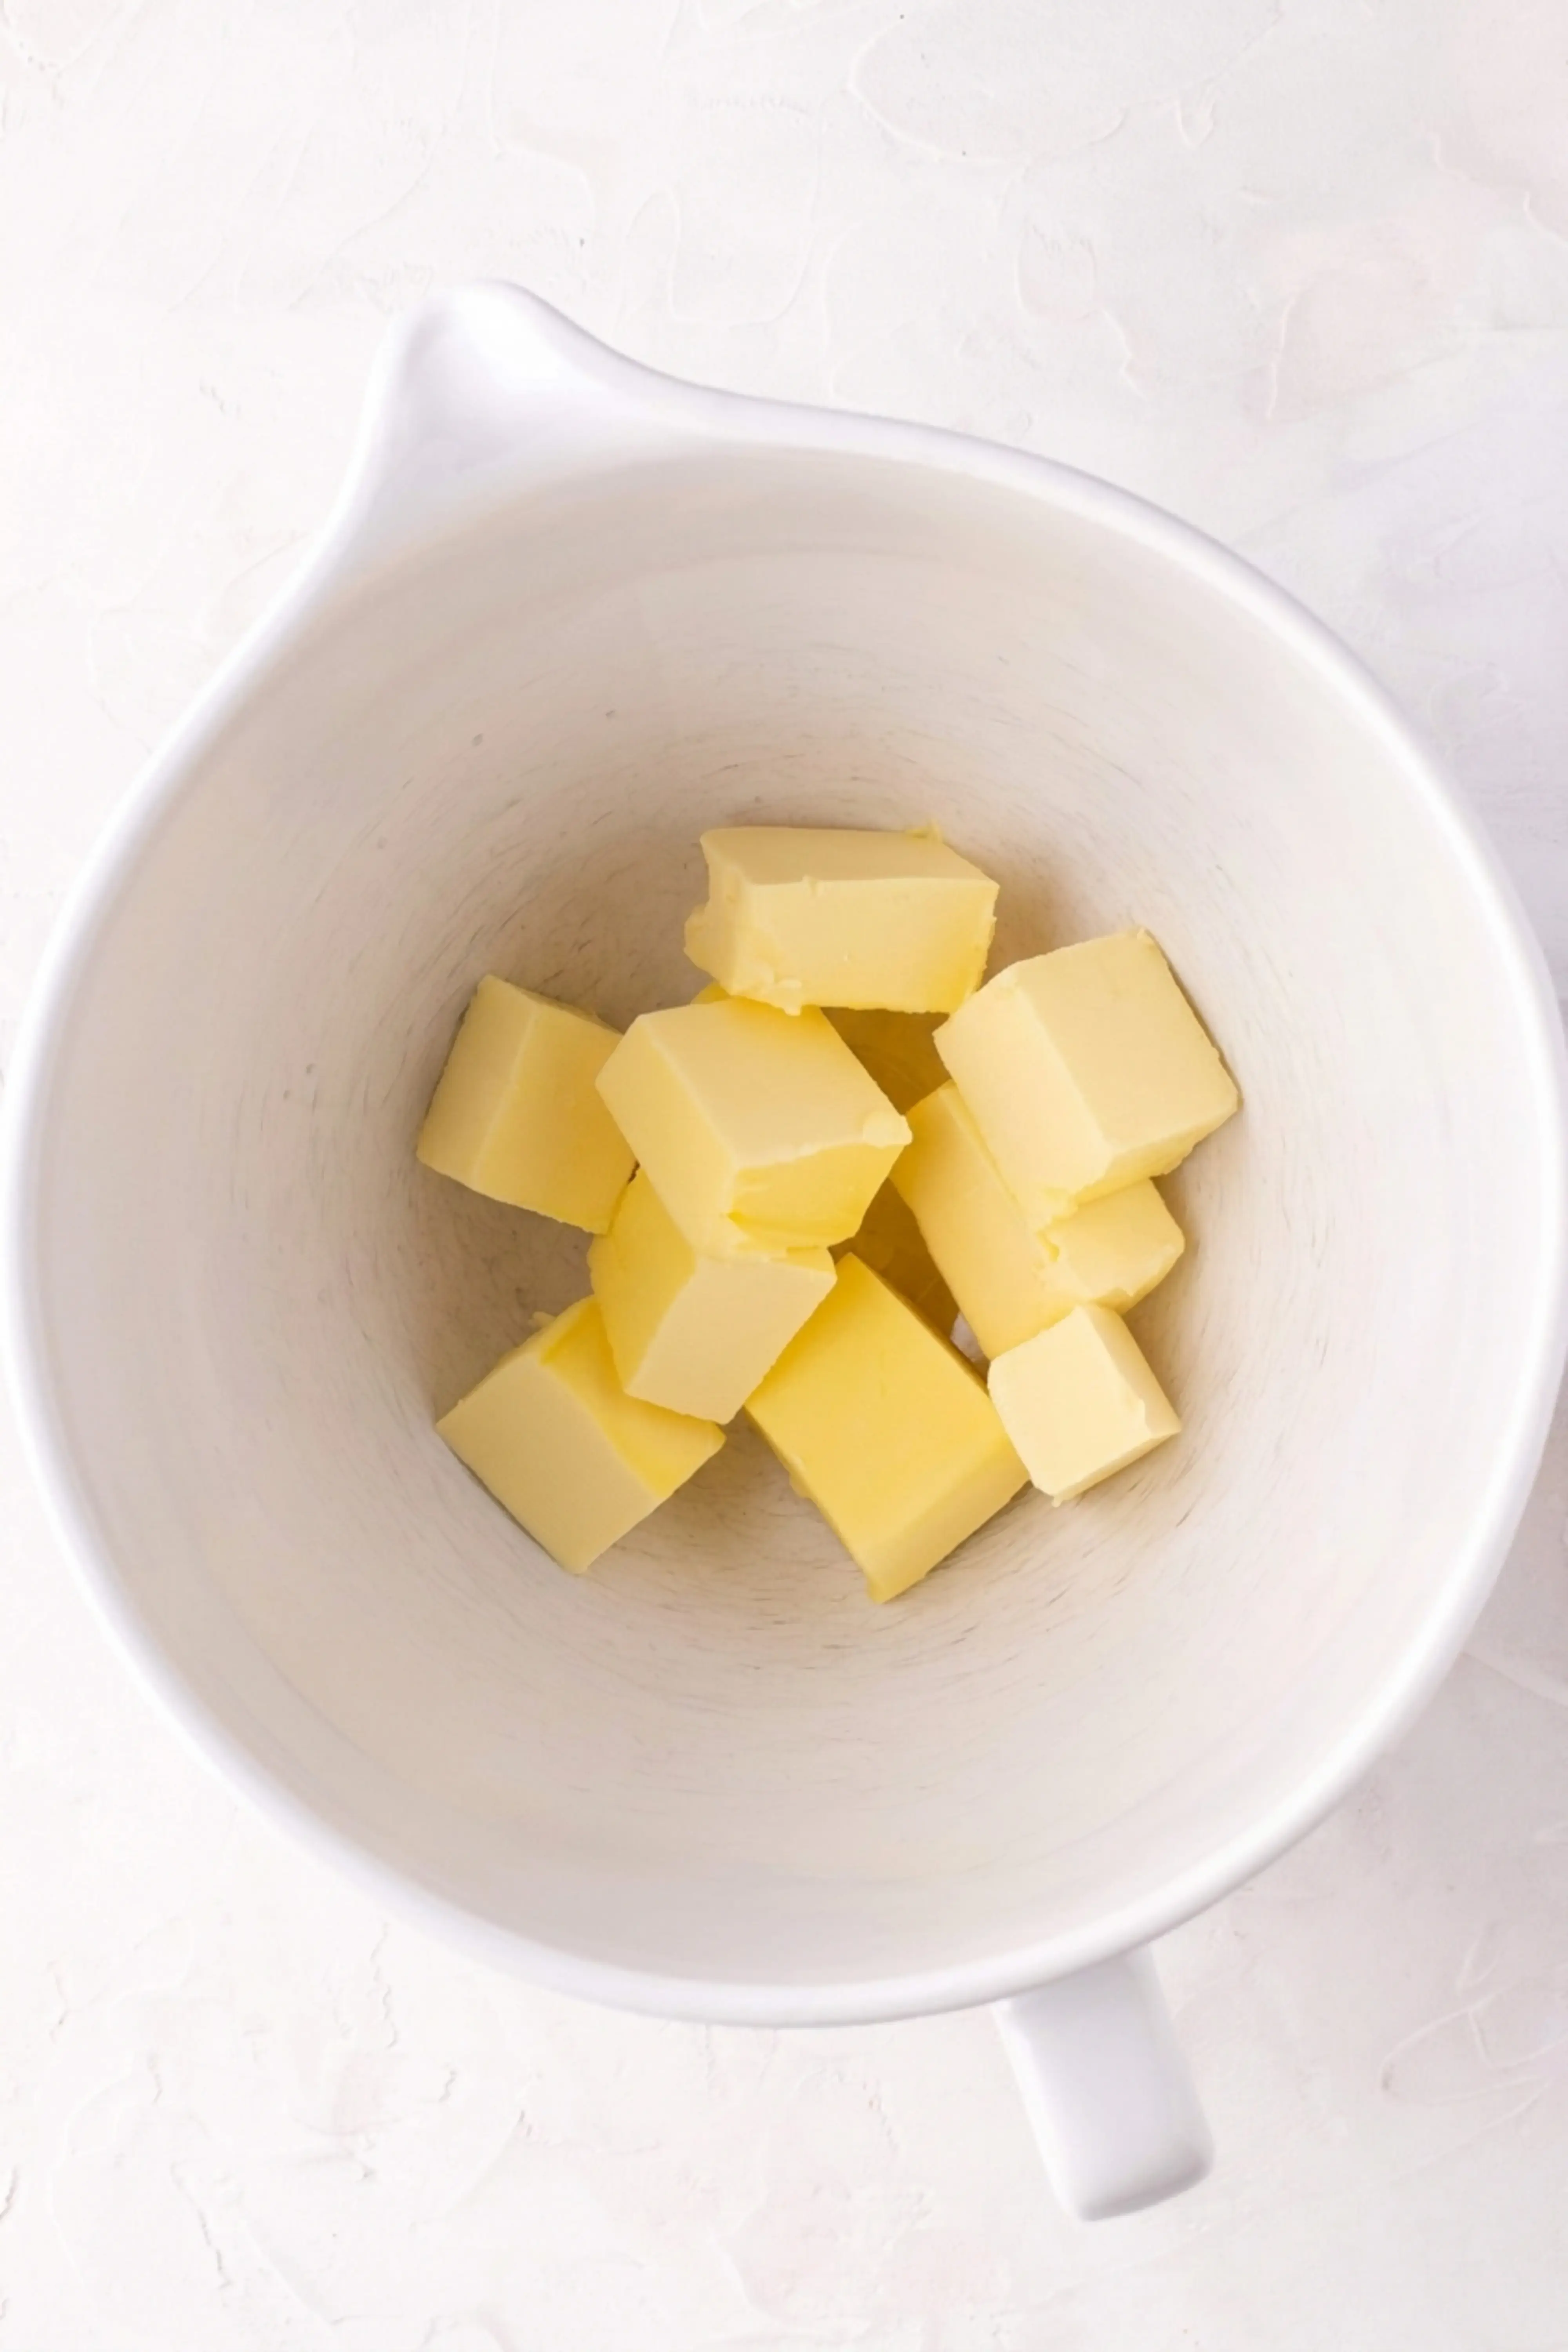
Take the butter out of the fridge about 30 minutes before you start, so it is not completely solid. Then it gets beaten with two kinds of sugar. You want it broken up and slightly softened, not creamed. Over mixing here warms the butter back up and undoes the whole point.
2: Use good quality chocolate chips
Chocolate is the main flavor here, so it is worth buying well. Look for a good quality maxi sized chip, something like Guittard or Food Thoughts. Big chips give you those melted chocolate pools instead of tiny specks.
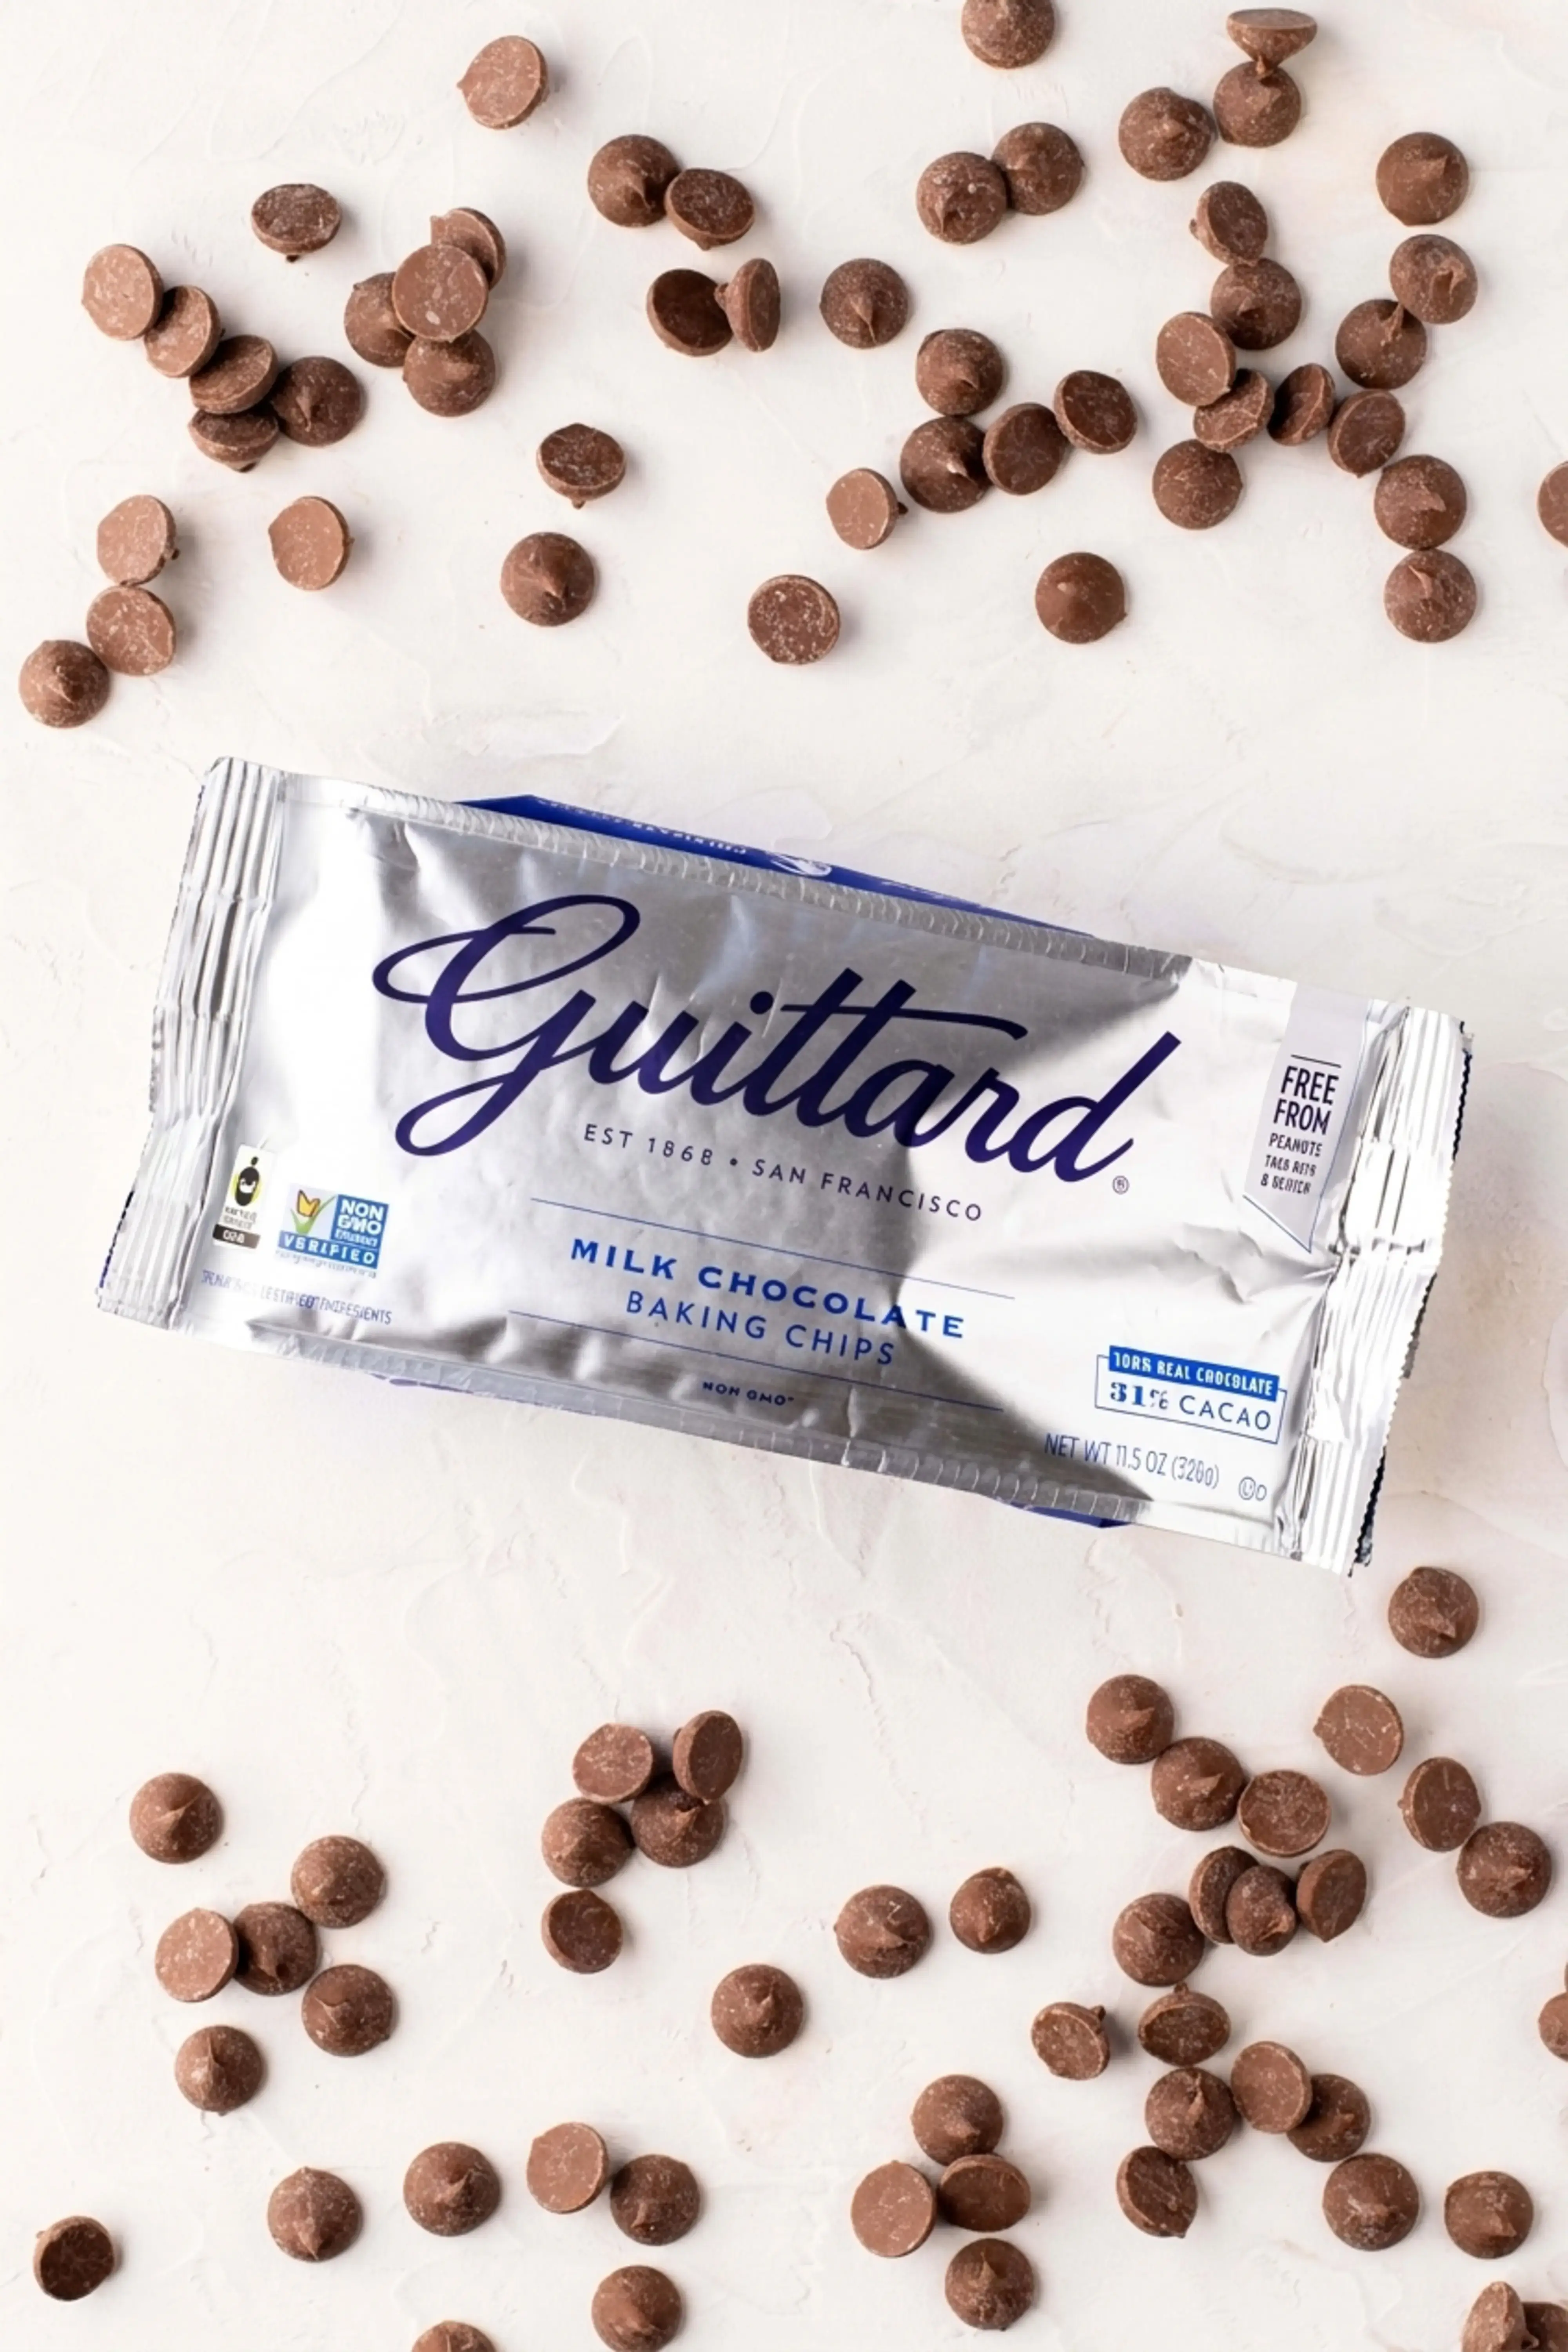
No maxi chips in the cupboard? Chop up bars of milk chocolate into large chunks and fold those through the dough instead. Uneven, chunky pieces are honestly even better. The dough takes 300 g of chocolate, so there is plenty of room to play.
3: Freeze the cookie dough before baking
This is the big one. The shaped dough balls go into the freezer, not the fridge, and they bake from frozen. Frozen dough spreads far less, so the cookies stay tall and thick as they bake.
Freeze for at least 90 minutes. If you can plan ahead, 24 to 48 hours gives the thickest result, because the dough firms up completely all the way through.
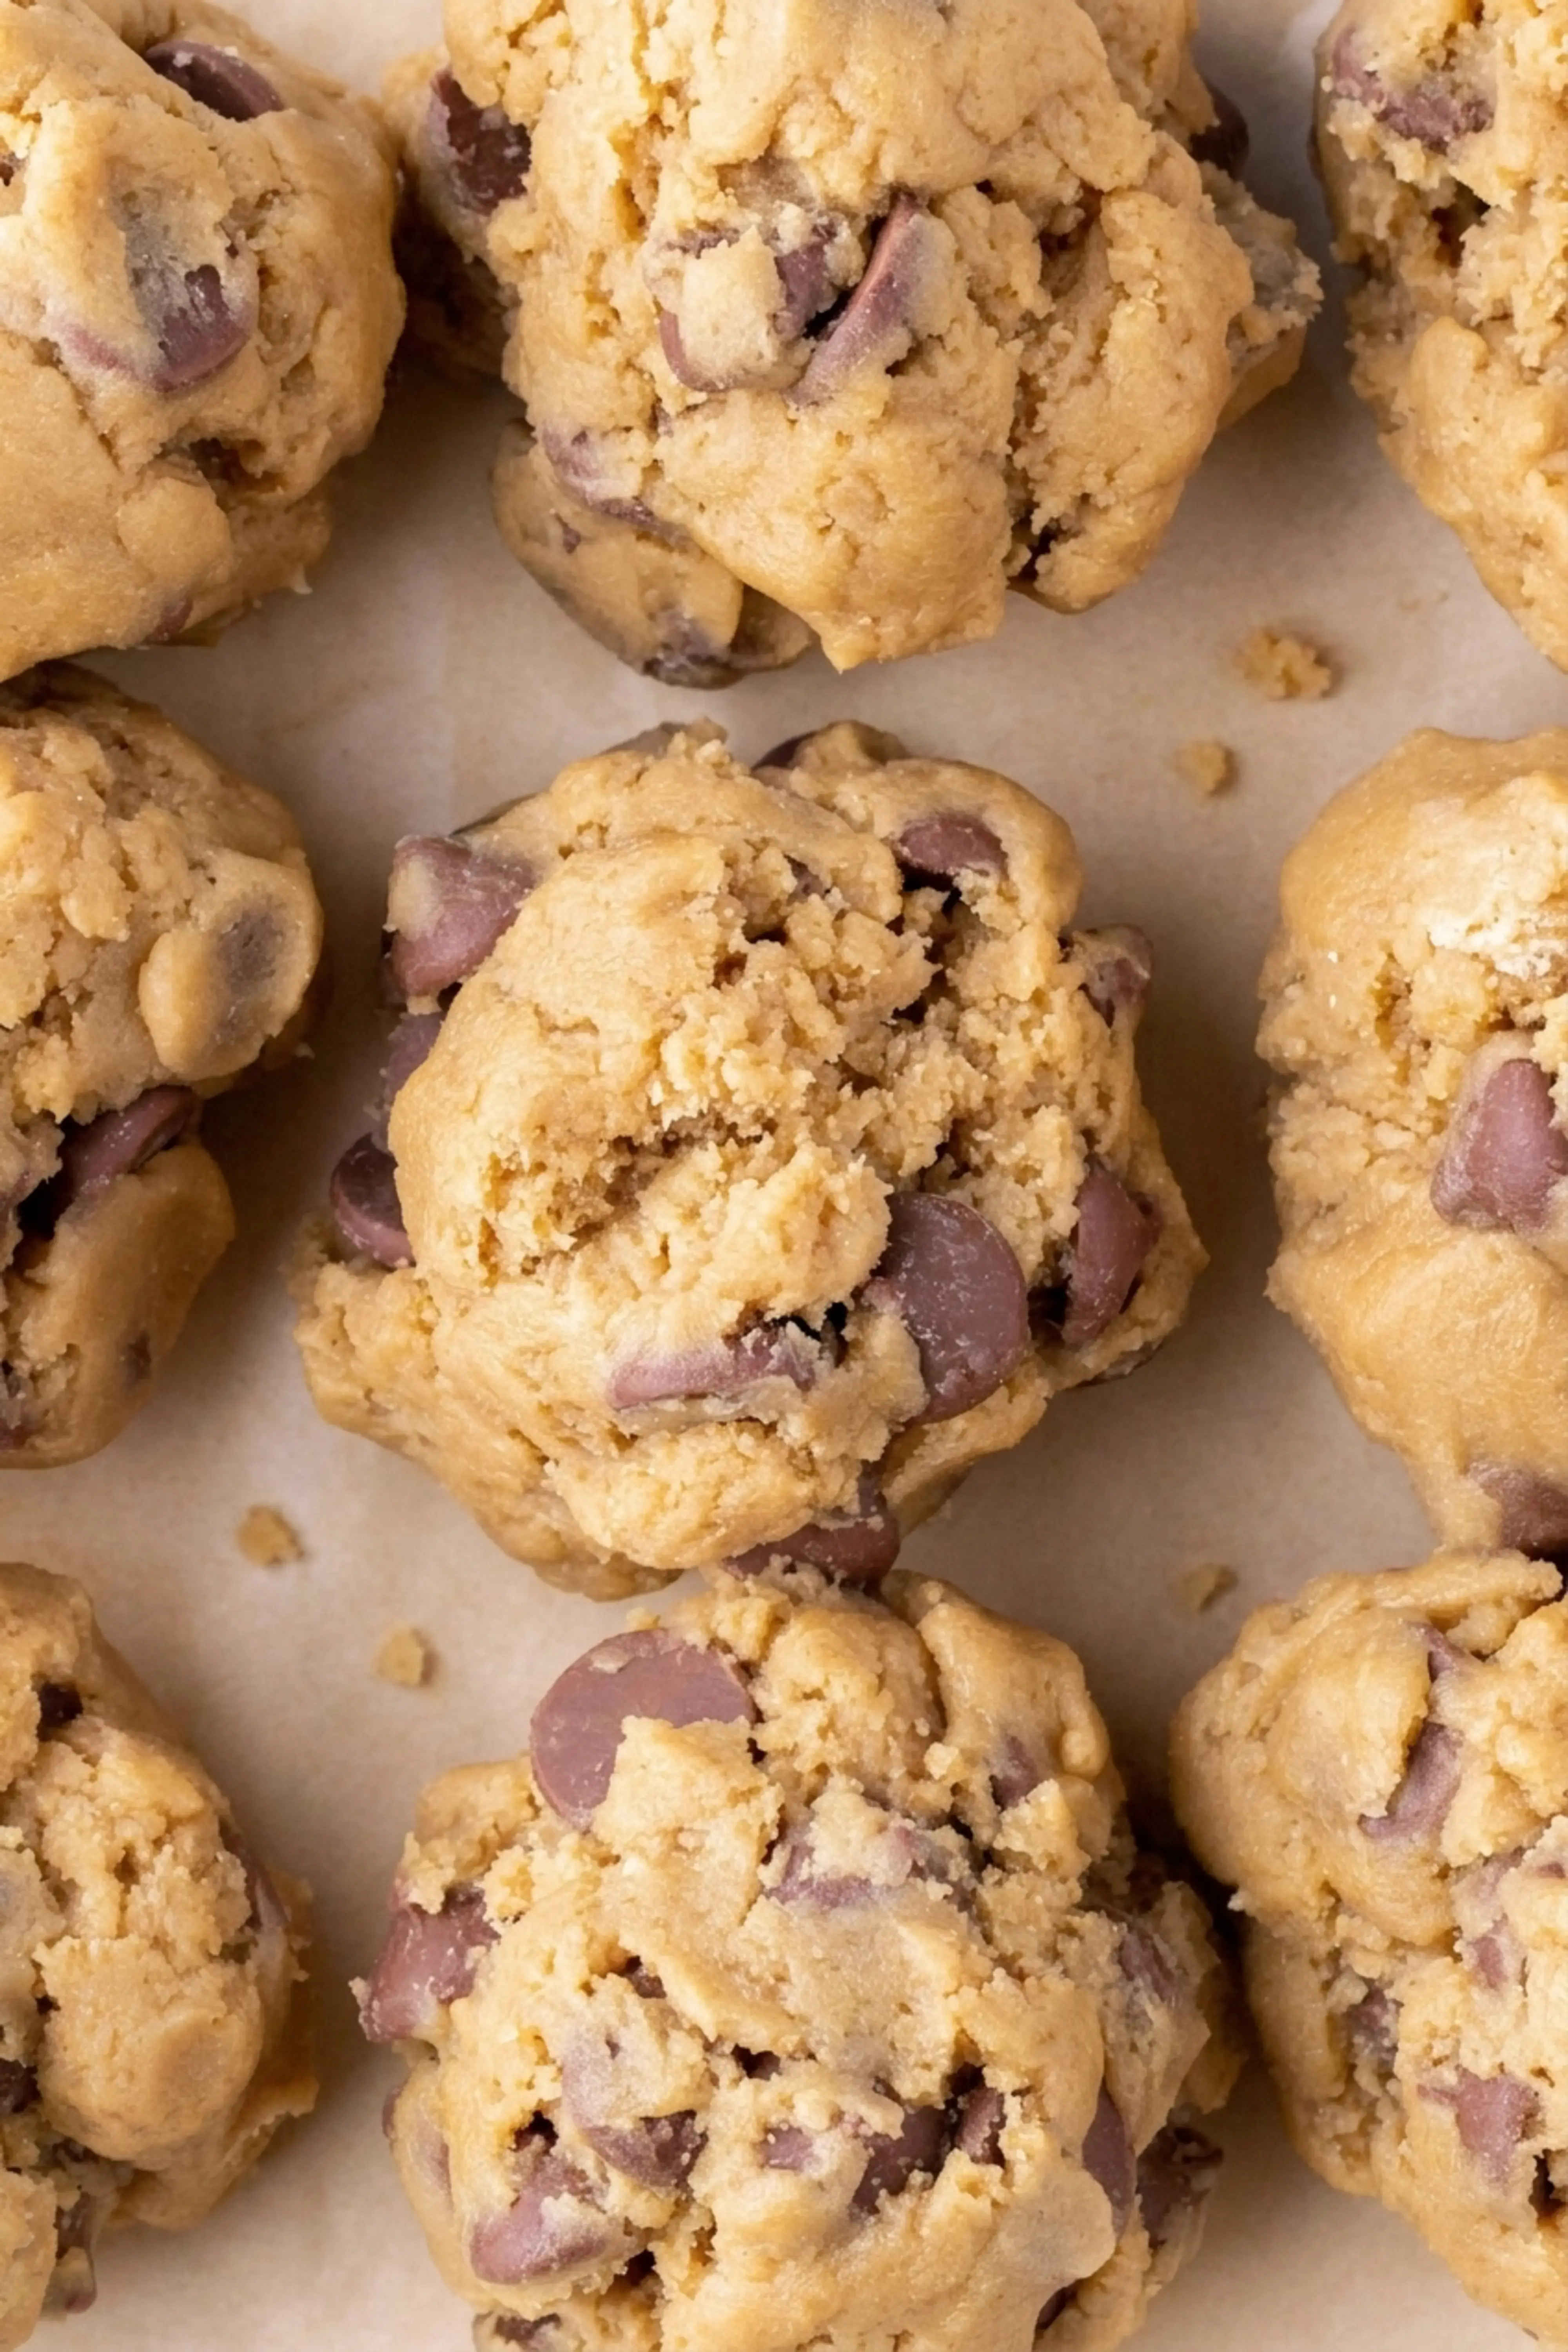
The dough keeps in the freezer for up to 2 months, so you can shape a whole batch and bake fresh cookies whenever the craving hits. I keep four balls in a freezer bag at all times for emergencies.
4: Use a pre heated, dark baking tray
The signature contrast in these cookies, crisp golden outside and gooey middle, comes from the tray. A dark colored tray that has been heated in the oven moves heat fast, so the outside sets, crisps, and browns quickly while the center stays soft.
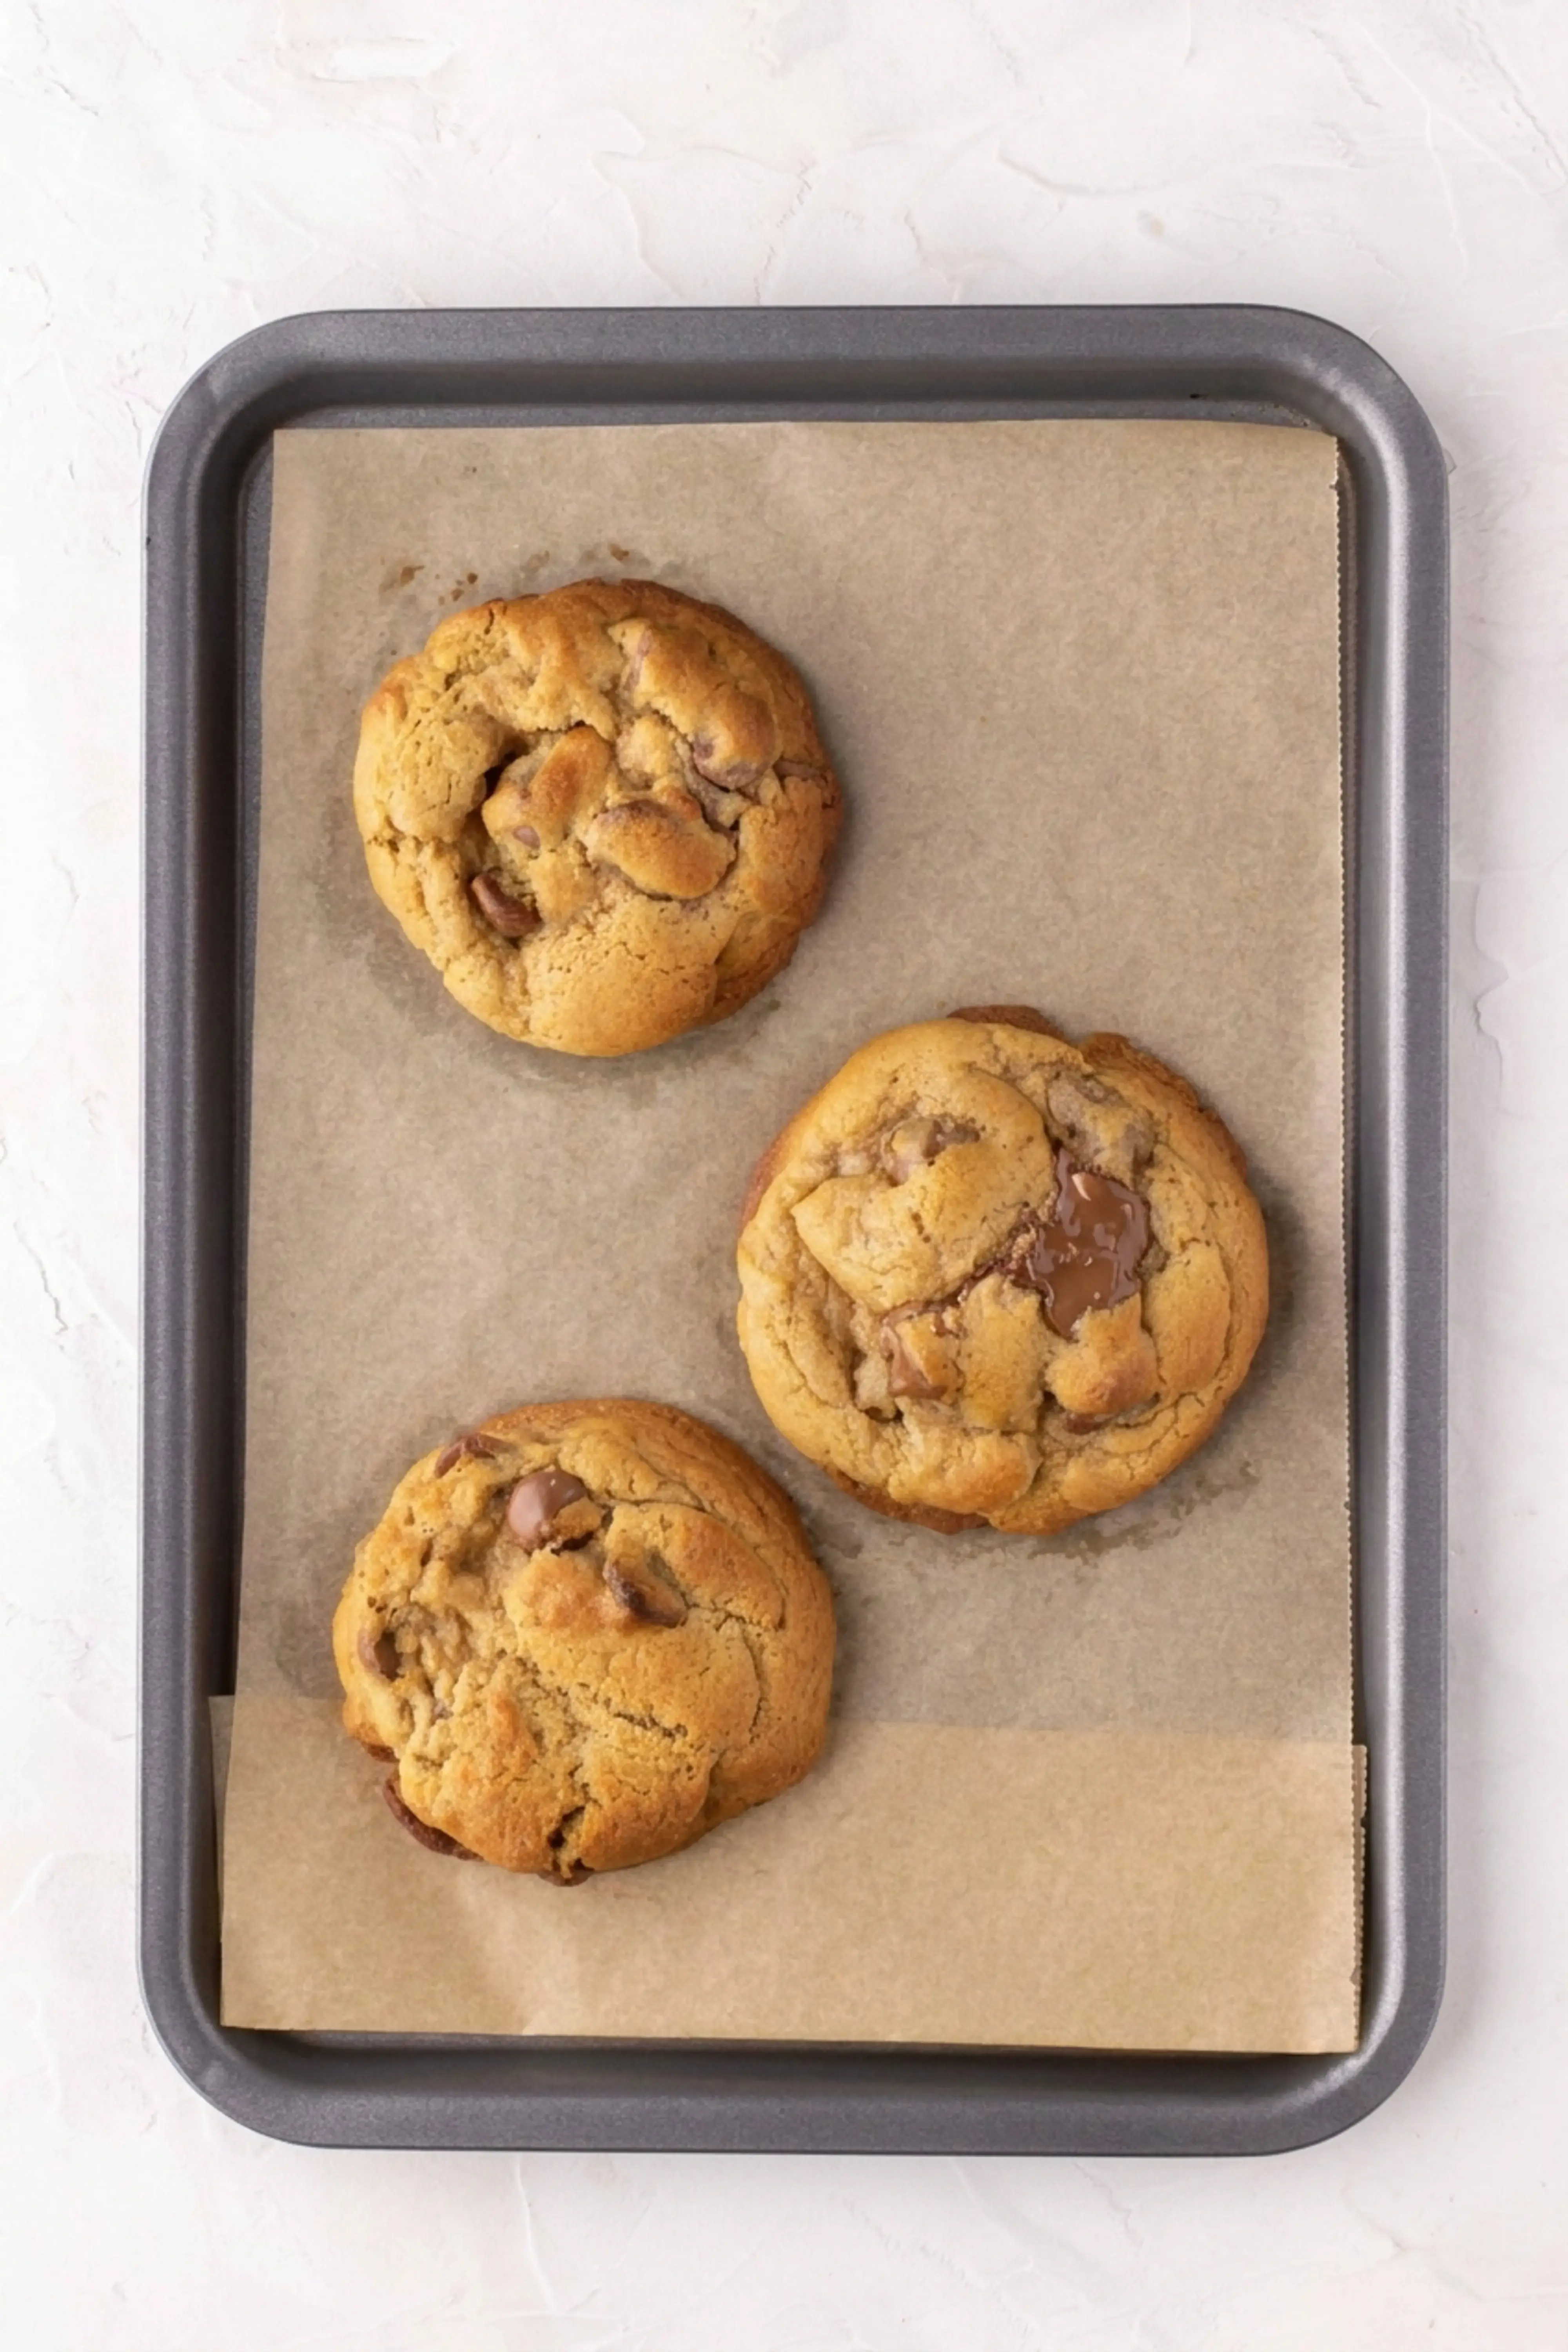
It also slows the spread, which keeps the cookies thick. Line the tray with parchment and let it heat for 5 minutes before the dough goes on.
5: Thick cookies are best enjoyed straightaway
Fresh out of the oven, still warm, is the peak. If you bake ahead, you can bring them back to life in a 100°C fan oven for 5 minutes and they go gooey again. That trick has saved me more than once when guests arrived later than planned.
Ingredients
This makes 9 to 10 large cookies. Weigh everything if you can, because the dough is thick and small measuring differences show up in the spread.
- 200 g cold unsalted butter, taken out of the fridge 30 minutes before you start so it is not completely solid
- 180 g light brown sugar
- 80 g white caster sugar, sold as superfine sugar in the US
- 2 large eggs, at room temperature
- 1 tsp vanilla extract
- 250 g self rising flour
- 150 g plain flour, also called all purpose flour
- 1 tsp salt
- 1 tsp baking powder
- 300 g milk, white, or dark chocolate chips, or a mixture of all three
A quick note on the two sugars. The brown sugar brings moisture and chew, and the caster sugar helps the edges crisp. Do not swap one for the other and expect the same cookie.
Instructions
Make the cookie dough
- Chop the cold butter into chunks and put them in a large mixing bowl. Beat with an electric mixer or a wooden spoon for 1 minute. The butter should be slightly softer and broken up, but not at the creamed stage.
- Add the light brown sugar and the white caster sugar and beat until just combined. Try not to over mix here, or the butter will soften too much.
- Mix in both eggs and the vanilla extract. The mixture will look a bit unappealing at this point. That is completely normal, and it comes together soon.
- In a separate bowl, stir together the self rising flour, plain flour, salt, and baking powder until well mixed. Tip it into the butter mixture and fold everything together until you have a thick cookie dough.
- Add all of the chocolate chips and use your hands to work them through the dough.
Shape the cookies
- Line a baking tray or tin that will fit inside your freezer with parchment paper.
- Weigh out 120 g of dough, roughly shape it into a ball with your hands, and place it on the tray. Thick cookies are meant to look rustic, so lumps and bumps are exactly what you want.
- Repeat until all the dough is used. You should get 9 to 10 cookies. They do not need much space at this stage, as long as they are not touching.
- Cover the tray with plastic wrap and freeze the dough balls for at least 90 minutes, or up to 48 hours for the best results. The longer they freeze, the thicker your cookies bake up.
Bake the cookies
- While the dough is in the freezer, preheat the oven to 180°C fan.
- Five minutes before the freezing time is up, line a large baking tray with parchment paper and put it in the oven for 5 minutes to heat through. The hot tray is what helps the cookies crisp and brown on the outside while staying gooey in the center.
- Place 3 to 4 frozen dough balls on the hot tray. These cookies are very chunky, so leave plenty of room between them and bake in batches if you need to.
- Bake on the middle shelf for 15 minutes, until the outer edge is golden but the top and middle are only lightly browned. The cookies should stay thick with very little spread.
- Leave them to cool on the baking tray for 5 minutes, or just until you can pick one up without it falling apart.
- Eat them straightaway, ideally while the chocolate is still soft.
The moment of truth is that first look through the oven door. If the cookies have held their shape, the edges are set, and the tops still look a little pale, you nailed it.
Notes
Store the baked cookies in a cake tin at room temperature. They are at their best within 24 hours, and they keep well for up to 4 days. If you want them warm and gooey again, a 5 minute stint in a 100°C fan oven does the job.
The unbaked dough balls keep in the freezer for up to 2 months, so you can bake just 3 or 4 at a time and always have fresh cookies on demand.
Recipe details
| Detail | Value |
|---|---|
| Prep time | 10 minutes |
| Cook time | 15 minutes |
| Freezing time | 1 hour 30 minutes |
| Total time | 1 hour 55 minutes |
| Servings | 9 to 10 large cookies |
| Oven temperature | 180°C fan |
| Method | Bake from frozen |
Plan the freezing time into your day. The hands on work is only about 25 minutes, but the dough needs that freezer nap before it goes anywhere near the oven.
FAQs
What makes chocolate chip cookies thick?
Using cold butter and freezing the cookie dough are the two most important techniques for thick cookies. Cold butter, taken out of the fridge about 30 minutes before baking, does not cream as much, resulting in less spread. Freezing the shaped dough balls for at least 90 minutes solidifies the fat, which slows melting in the oven and helps the cookies hold their height.
Why bake thick cookies on a preheated dark baking tray?
Baking frozen cookie dough balls on a preheated dark baking tray quickly crisps and browns the outside while keeping the center gooey and thick. The dark tray absorbs more heat, creating a crisp crust that prevents excessive spread. To do this, place the tray in the oven at 350°F for 5 minutes before adding the dough.
How long should you freeze cookie dough for thick cookies?
For the thickest cookies, freeze the shaped dough balls for at least 90 minutes, but 24 to 48 hours is ideal for the best texture and flavor. You can freeze the dough for up to 2 months, baking the cookies directly from frozen when ready. This step is essential to minimize spread and achieve a bakery-style thick cookie.
What is the best flour for thick and soft chocolate chip cookies?
A blend of self-raising flour and all-purpose flour creates the ideal texture for thick, soft cookies. The recipe uses 250g of self-raising flour and 150g of plain flour; self-raising contains leavening agents that give the cookies a soft, puffy structure. Using only all-purpose flour may result in a denser cookie that does not rise as much.

Thick Chocolate Chip Cookies
Thick Chocolate Chip Cookies These cookies are the reason I keep a stash of frozen dough balls in my freezer at all times. This Thick Chocolate Chip Cookies recipe comes from Jessie Bakes Cakes, and it is the thickest, chunkiest chocolate chip cookie I have baked at home.
- Total Time: 115 min
- Yield: 9–10 1x
Ingredients
Ingredients
200 g Cold unsalted butter, Take the butter out of the fridge 30 minutes before you start baking so that it’s not completely solid
180 g Light brown sugar
80 g White caster sugar
2 large Eggs, at room temperature
1 tsp Vanilla extract
250 g Self-raising flour
150 g Plain flour
1 tsp Salt
1 tsp Baking powder
300 g Milk/white/dark chocolate chips – or a mixture of all three
Instructions
Start by making the cookie dough
1-Chop up the butter into chunks and: Chop up the butter into chunks and place in a large mixing bowl. Beat using an electric mixer or wooden spoon for 1 minute. You want the butter to be slightly softer, broken up, but not at the ‘creamed’ stage.
2-Add the light brown sugar and white: Add the light brown sugar and white caster sugar and beat together until just combined. Try not to over-mix at this stage otherwise the butter will become too soft.
3-Mix in both of the eggs and: Mix in both of the eggs and the vanilla extract. The mixture won’t look very appealing at this stage but don’t worry it will do soon!
4-In a separate bowl, stir together the: In a separate bowl, stir together the self-raising flour, plain flour, salt and baking powder until well mixed. Tip into the butter mixture and fold everything together until it forms a thick cookie dough.
5-Now add all of the chocolate chips: Now add all of the chocolate chips and use your hands to mix them into the dough.
Shaping the cookies
6-Line a baking tray or tin (one: Line a baking tray or tin (one that will fit inside your freezer) with greaseproof paper.
7-Weigh out 120g of the cookie dough,: Weigh out 120g of the cookie dough, then use your hands to roughly shape it into a ball and place it on the baking tray. Thick cookies are meant to look rustic, so lumps and bumps on the cookie dough is exactly what you’re looking for.
8-Repeat this step until all the cookie: Repeat this step until all the cookie dough is used up. You should get between 9-10 cookies in total. At this stage, you don’t have to worry about the cookies being too close together on the baking tray. As long as they’re not touching it’s all good.
9-Cover the baking tray with clingfilm and: Cover the baking tray with clingfilm and freeze the cookie dough balls for at least 90 minutes or up to 48 hours for best results. The longer you leave them, the thicker your cookies will be.
Baking the cookies
10-Whilst the cookies are in the freezer,: Whilst the cookies are in the freezer, preheat your oven to 180°C (fan).
11-Do this step 5 minutes before the: Do this step 5 minutes before the freezing time is finished: Line a large baking tray with greaseproof paper and place in the oven for 5 minutes to heat up. The heated tray will help the cookies crisp up and brown on the outside but still keep a gooey center.
12-Place 3 to 4 of the frozen: Place 3 to 4 of the frozen cookie dough balls onto the tray. These cookies are very chunky so make sure you leave plenty of room between them. Bake the cookies in batches if you need to.
13-Bake on the middle shelf of your: Bake on the middle shelf of your oven for 15 minutes until golden on the outside edge but still only lightly browned on the top and in the middle. The cookies should still be nice and thick, with very little spread.
14-Leave to cool for 5 minutes on: Leave to cool for 5 minutes on the baking tray, or just until you’re happy to pick them up without them falling apart.
15-Enjoy your cookies straightaway: Enjoy your cookies straightaway!
Last Step:
Please leave a rating and comment letting us know how you liked this recipe! This helps our business to thrive and continue providing free, high-quality recipes for you.- Prep Time: 10 min
- Cook Time: 15 min
- Method: bake


