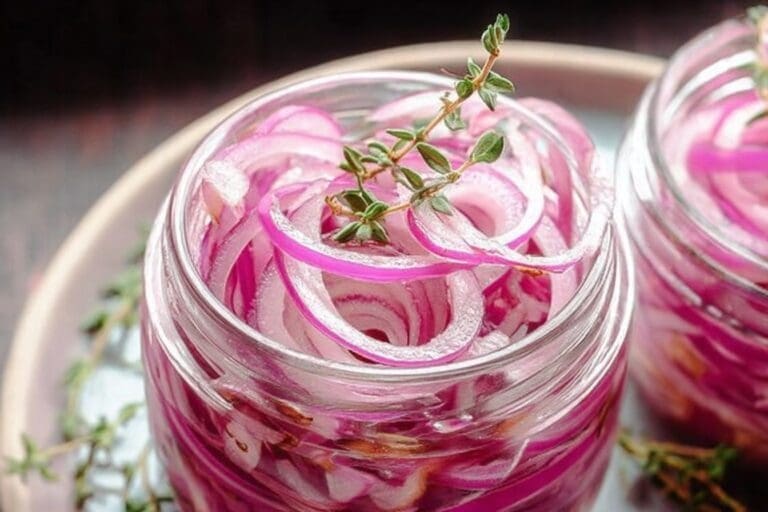
Ingredients
– 1 large red onion for crunch, color, and flavor
– 1 cup distilled white vinegar for quick pickling brine
– 1/2 cup water for softening the vinegar bite
– 1 tablespoon granulated white sugar for balancing the tang
– 1 1/2 teaspoon kosher salt for seasoning and brining the onions
Instructions
1-First Step: Prep the onion
Peel 1 large red onion, cut it in half, then slice it crosswise into thin slices. A sharp knife helps you get clean cuts and can reduce tears, which is always a nice bonus. Try to keep the slices fairly even so they pickle at the same rate.
Once the onion is sliced, pack it into a medium-size glass jar with a tight-fitting lid. A mason jar works well, but any clean glass jar with a secure lid will do. Packing the onions snugly helps them stay submerged in the brine later.
2-Second Step: Make the brine
Set a small saucepan over high heat and add 1 cup distilled white vinegar, 1/2 cup water, 1 tablespoon granulated white sugar, and 1 1/2 teaspoon kosher salt. Stir the mixture as it heats so the sugar and salt dissolve evenly. Bring it just to a simmer, not a hard rolling boil.
This step only takes about 5 minutes, so keep an eye on it. As soon as the sugar and salt dissolve, the brine is ready. If you want easier pouring, transfer the hot liquid into a measuring cup before adding it to the jar.
3-Third Step: Pour the hot brine over the onions
Carefully pour the hot vinegar mixture over the sliced red onions in the jar. Make sure the onions are mostly covered. If a few slices float, use a clean spoon to gently press them down into the liquid.
Pour slowly so the jar does not crack from sudden temperature changes. Using a heat-safe glass jar helps, and a measuring cup gives you more control than pouring straight from the pan. The hot brine starts softening the onions right away and begins that bright pink transformation.
4-Fourth Step: Let the onions cool
Cover the jar with the lid and let it stand at room temperature for 1 hour to cool. This cooling time is part of the recipe and helps the flavor settle in. It also keeps condensation from building up in the jar once you move it to the fridge.
During this time, the onions will keep softening slightly and turning a lovely pink color. The brine will look a little cloudy at first, which is normal. As the onions sit, the flavor gets better and the color deepens.
5-Final Step: Refrigerate and use
After the jar has cooled, place it in the refrigerator. The onions are ready to eat once chilled, though they taste even better after a little more time in the brine. You can start using them soon after they go into the fridge, but they get more balanced as they sit.
Use them on tacos, burgers, hot dogs, grain bowls, avocado toast, salads, wraps, and sandwiches. If you like simple make-ahead toppings, this is one of the easiest ways to keep flavor ready in the fridge. For another no-fuss kitchen idea, you might also like our no-cook meal prep tips.
Last Step:
Please leave a rating and comment letting us know how you liked this recipe! This helps our business to thrive and continue providing free, high-quality recipes for you.Notes
🔪 Sharp knife/mandoline reduces tears, ensures thin even slices.
☕️ Pack measuring cup with hot brine for spill-free pour.
🌿 Spice up: add red pepper flakes, herbs, bay leaf variations.
- Prep Time: 10 minutes
- Cooling & Pickling: 1 hour
- Cook Time: 5 minutes
- Category: Condiments
- Method: Pickling
- Cuisine: American
- Diet: Vegan
Nutrition
- Serving Size: 1/4 cup
- Calories: 25 kcal
- Sugar: 3g
- Sodium: 550mg
- Fat: 0g
- Saturated Fat: 0g
- Unsaturated Fat: 0g
- Trans Fat: 0g
- Carbohydrates: 6g
- Fiber: 1g
- Protein: 0g
- Cholesterol: 0mg